This blog is all about Food. Real Food. Food that Nourishes, Heart and Soul.

Real Ingredients, Organic and Locally sourced whenever and where ever possible, shared with love.

No packages, no ingredients that are impossible to pronounce.

Real, honest food, from my kitchen to yours. Enjoy!

Wednesday, 5 November 2014

Mini Grain Free Apple Cobbler


I whipped these delicious little yummies together for dessert tonight, and I am quite pleased with how they turned out. A bit more like a cobbler than the mini-pies I was originally aiming for, the results were still scrumptious, and worthy of a share.  They are gluten and grain free, and could be dairy free as well if you sub out the butter for an equal amount of coconut oil. Serve with a scoop of your favourite vanilla ice cream and they are the perfect serving of comfort in a dish.


Mini Grain Free Apple Cobblers

Filling:
6 apples, peeled, cored and sliced  (I used Gala’s)
2 Tbsp Coconut sugar
1 tsp cinnamon
_______
Batter:
2 eggs
1/3 cup coconut sugar
½ cup almond flour (JK Gourmet brand is nice and fine)
2 tbsp coconut flour
1 ½ tsp cinnamon
¼ cup butter, softened (or sub coconut oil to keep dairy free!)
Pinch of salt

Preheat oven to 375F
Toss apple slices with the first amounts of coconut sugar and cinnamon. Fill 8 ramekins (mine hold 2/3 of a cup when right full) Set aside.
Measure all batter ingredients together in a medium mixing bowl until you have a nice smooth batter. 

Divide evenly between the 8 ramekins, and smooth with a spatula.
Bake in preheated oven for 40-45 minutes, or until apples are nicely softened. The batter should be firm to the touch and starting to brown around the edges.

Serve warm, with a scoop of good quality vanilla ice cream if desired.


Thursday, 23 October 2014

Grain Free Banana Donuts


I have been dying for a reason to try out my newest kitchen toy! I picked up this sweet donut pan in a kitchen store on a weekend away in Niagara a few weeks back. I have been on the lookout for a new one for a while, since the ones that I had and lent out a few years back sadly never found their way back to me :(   Needless to say, I was very excited to find this one without shipping costs attached! It is slightly bigger than the ones that I had, which is kinda nice. Now I am wishing I had bought 2!!
 The 4 over ripe bananas lounging on my counter provided me with just the inspiration  I needed to try it out yesterday. (it also may have been the irritated look from my eldest when he picked up said bunch of  bananas  and they started to peel themselves...those babies needed a recipe, and quick!) 


 The results were awesome, bang on first time out of the gate (love it when that happens!) 
Grain Free Donuts, who'da thunk it!! My mind is already spinning with what new flavour combos to try!!
 

 Anyhoo, if you don't have one of these seriously cool donut pans, these darlings would bake up quite nicely in a mini muffin pan as well, with maybe just a few minutes added to the baking time. 

Grain Free Banana Donuts

4 bananas, very ripe!
3 eggs
1/4 cup coconut oil
1 Tbsp Apple cider vinegar(raw, unpasteurized!)
1/2 cup coconut flour
3 Tbsp arrowroot flour/starch
2 Tbsp chick pea flour
1 tsp baking soda
1/2 tsp salt

Preheat oven to 350F
Using a silicone spatula, (or a paper towel) and a big smear of butter, liberally grease a donut pan, making sure to coat all of the surfaces. Set aside.

Mix all ingredients together well in a large mixing bowl with an immersion blender. Scrape sides of bowl to make sure everything is incorporated evenly.

Scrape batter into a medium sized zip top freezer bag, and snip off the bottom corner to make an impromptu piping bag.

You want the hole in the corner of the bag to
be just big enough to do one nice circle of
batter in the cavity.
Pipe the batter evenly into the greased pan, you will use about half of the batter.

Bake in preheated oven for 11-12 m or until cooked thru and just starting to brown at the edges.

Remove from oven, run a knife carefully around the edges and flip donuts out onto a wire cooling rack.
Cool pan and repeat the process with the remaining batter.***This depends on the size of your pan! I found another one at Sobeys yesterday, and it is bigger. They took about 2-3 minutes longer to bake, and took more batter!
I often cool things on the deck railing right
outside my back door...shhh! Don't tell
the neighbors or my food may
start disappearing!


Cool completely and serve as is, or dip into chocolate glaze.

Chocolate Glaze: 

1 cup Enjoy Life Chocolate chips
2 Tbsp coconut oil

Suspend a heat proof bowl (stainless steel works well) over a pot of simmering water (it shouldn't touch the water!) and melt together the chocolate chips and coconut oil. Stir the mixture until it is smooth. Dip each donut (I dipped the top side, it looked nicer this way!) and set back on the wire cooling rack. Refrigerate to set the chocolate glaze. Store any leftovers in fridge to keep the glaze firm.


Wednesday, 8 October 2014

Grain Free Pizza Crust

Our Spynx cat Inka, trying to be helpful while
my hubbie replaces the part in my oven.
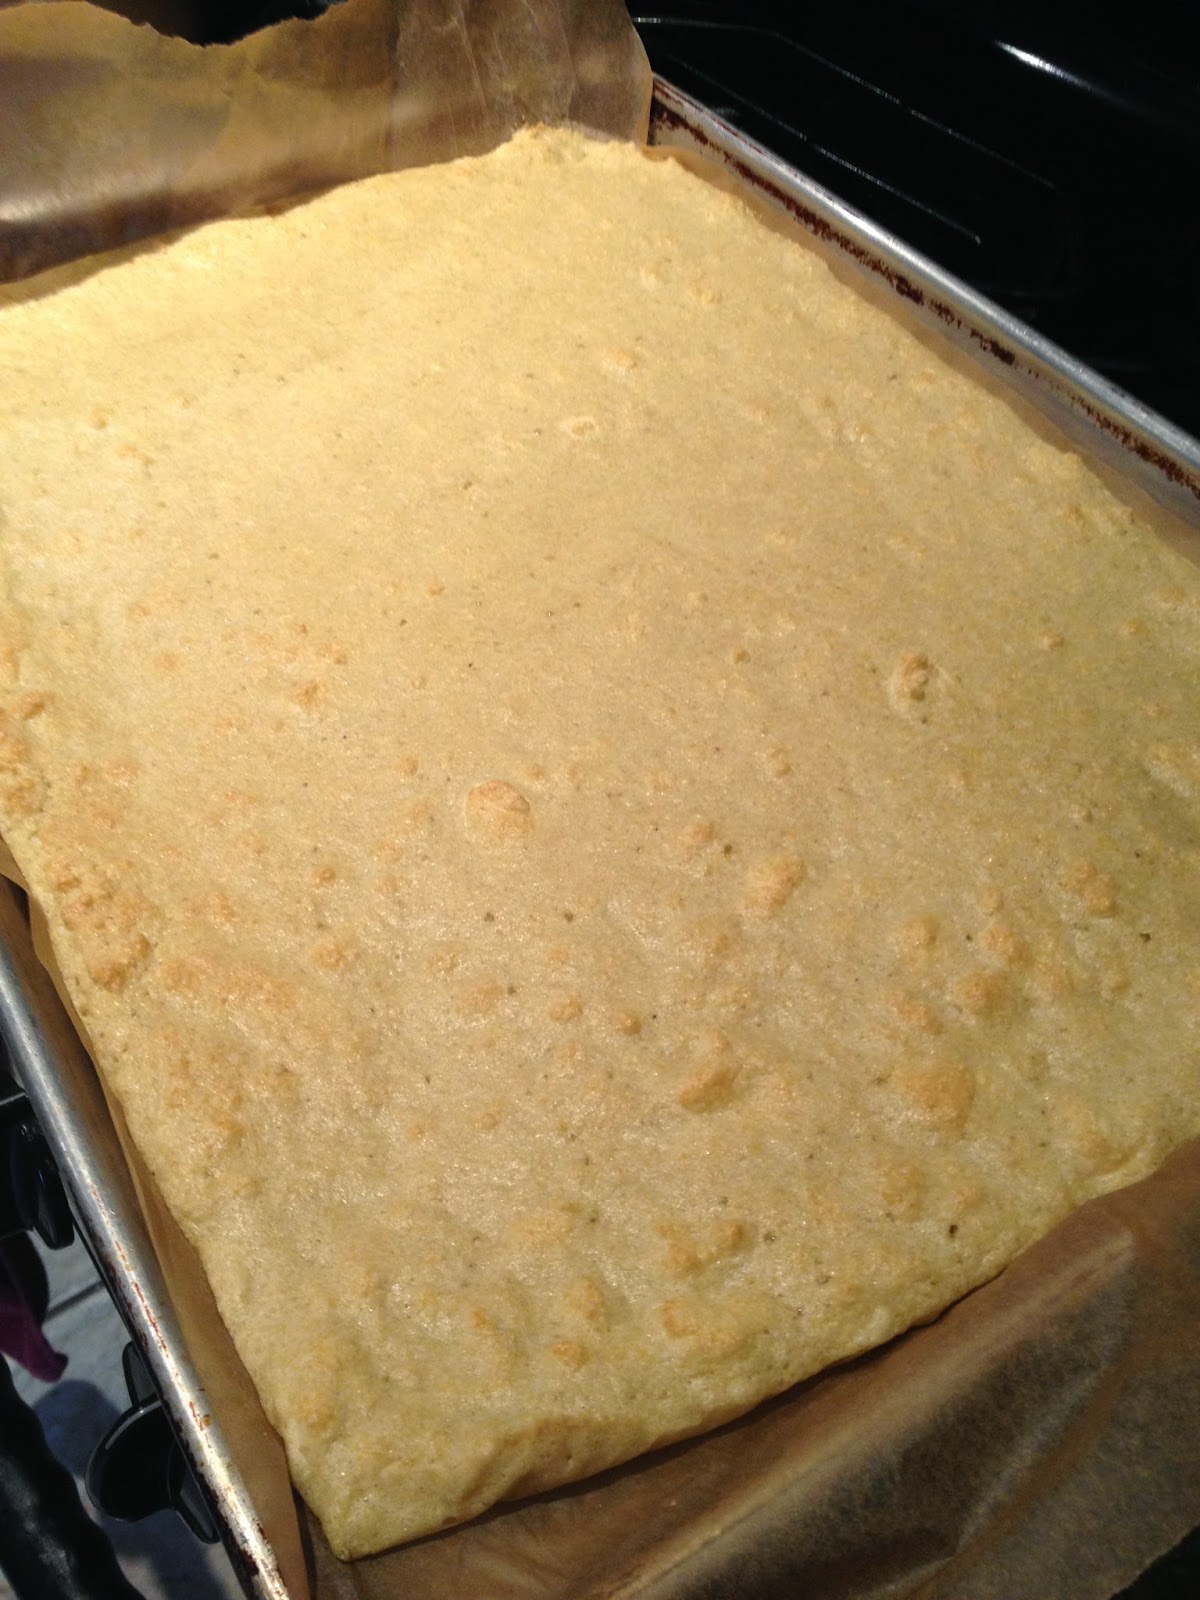
 In celebration of my stove finally being fixed, I decided to make pizza. I whipped up a batch of regular yeasted wheat pizza dough for my boys (they still occasionally eat wheat), and then I made this lovely grain free pizza for my hubbie and I. This is more of a technique post than an actual recipe, but the link to the recipe for the "dough" can be found here.  My grain free bread dough is very versatile, and makes a pretty awesome pizza dough. It does require pre-baking as it doesn't have the elasticity of a regular wheat dough. I baked it on a large pan lined with parchment, topped it and then finished it up on my pizza stone in a hot oven. Yes, an extra step is involved, but to have a grain free pizza that you can pick up and eat with your hands...totally worth it!

Grain Free Pizza

1 batch of Grain Free Sandwich Bread, NOT cooked!
Toppings of choice

Preheat oven to 400F (put pizza stone in while preheating if using)

Mix batter for bread as per directions in the recipe. Instead of baking in bread pans, spread out evenly on a parchment lined baking sheet with an edge preferably. I find one batch nicely fills my pan that measures about 18"x 13". 


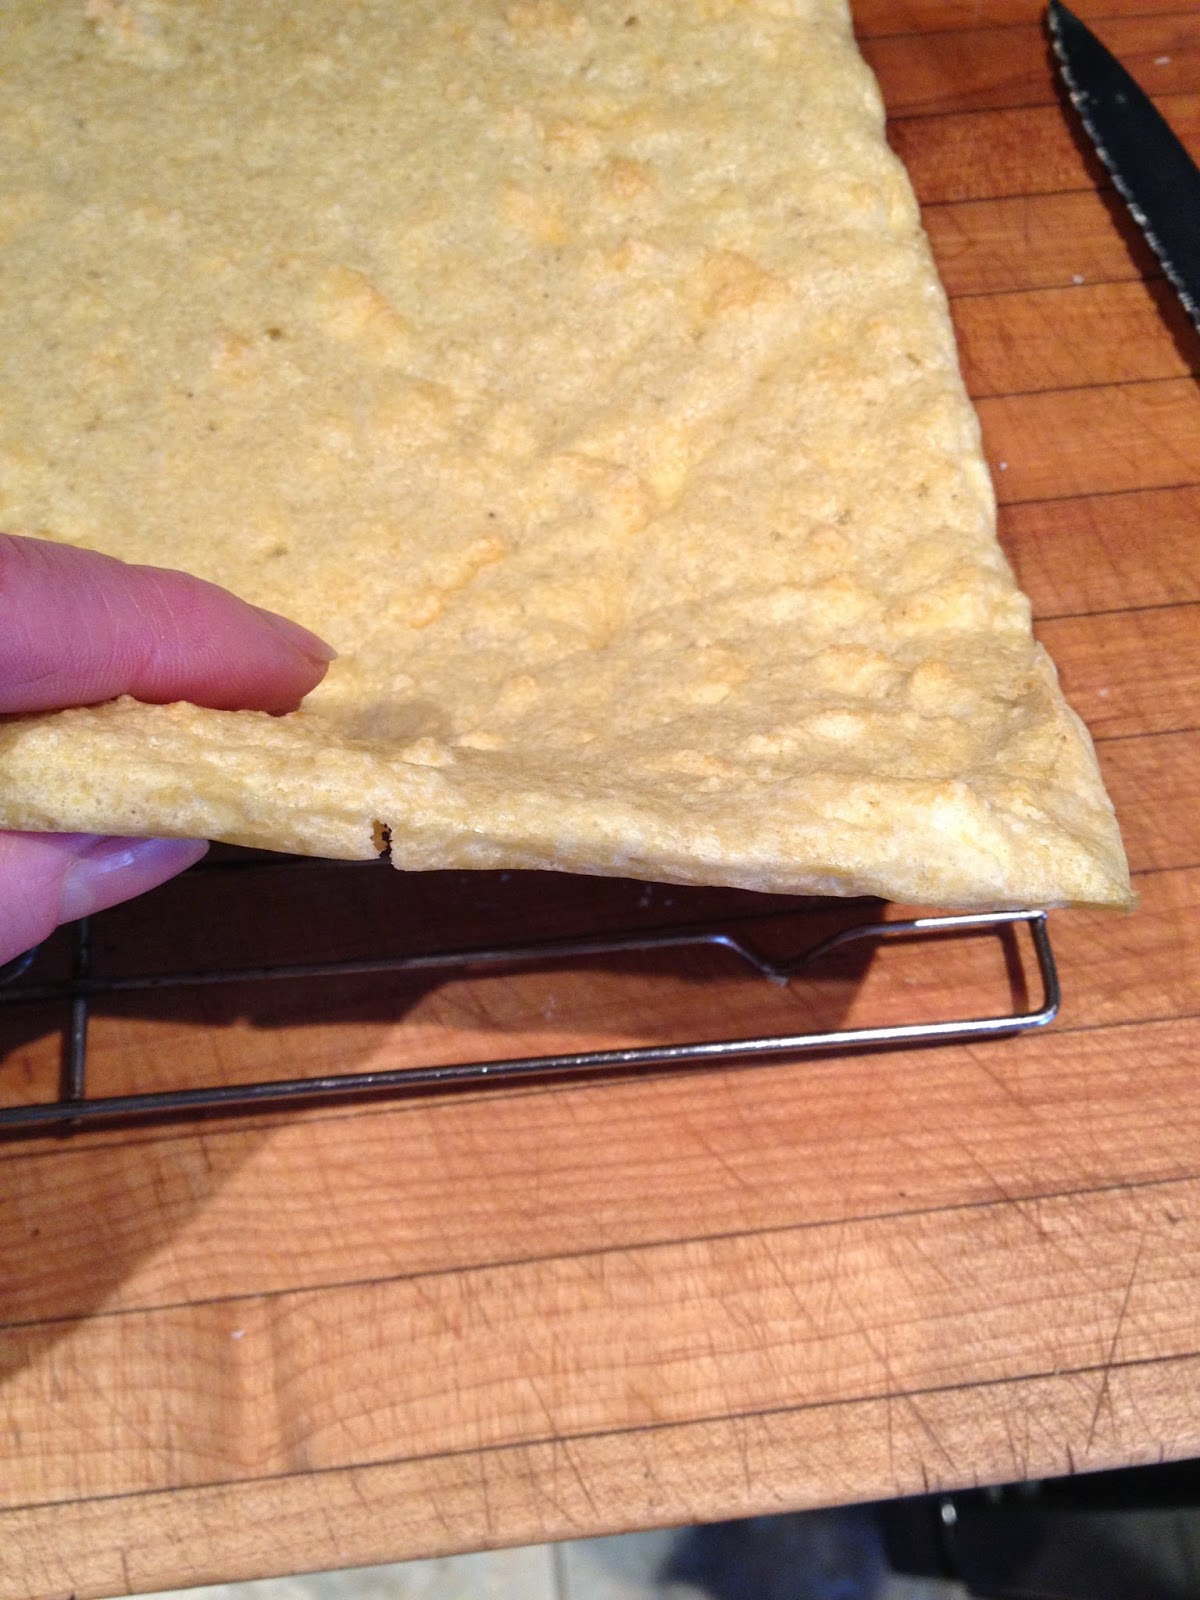
Bake for 15 minutes or until firm and starting to show some browning on the edges. Remove from oven and using parchment, lift off and set aside on wire racks until it is cool enough to handle. 


 Top with your favourite pizza toppings.


 Slide pizza peel under pizza, and carefully transfer into oven onto hot pizza stone***.

A Pizza Peel makes taking a whole pizza out
of a hot oven so much easier!!


 Cook for another 12-15 minutes or until the toppings are nice and hot and your cheese is melted, bubbly and starting to brown. 
Serve right away! (leftovers are awesome in lunch boxes!)

 ***(alternatively, slide pizza back onto baking sheet and bake in preheated oven if you are not using a pizza stone)

Thursday, 25 September 2014

Bean-Free Roasted Beet Hummus

I realize, dear loyal blog readers, that it has been a while since I have posted anything new, and for that I humbly apologize. It is not for lack of kitchen creation, let me assure you! Life simply gets in the way at times, between working full time, creating new recipes for upcoming classes, and life in general, eeking out time to post recipes can be a challenge!
The recipe I want to share today is so simple and easy though, I wanted to post it quickly this morning to share the yumminess!!  I was taking a veggie tray to a family birthday gathering on the weekend, and wanted a non-dairy, non bean veggie dip to take along side it. Still having quite a few beets in the garden left to pull, I thought it was an awesome time to try out a roasted beet hummus. There are quite a few recipes floating around in cyber-recipe land that use many different kinds of beans, but beans and I still have a tenuous digestive relationship. I wanted to keep this simple, and have the flavour of the roasted beets as the shining star. The result was an earthy tangy and downright addictive dip that was amazing with raw veg.
I hope you love it as much as I did!

Bean-Free Roasted Beet Hummus 

5-6 medium beets, scrubbed and trimmed (peel if desired, mine were garden fresh, I left the skins on)
2 tbsp avocado oil
3/4 tsp Herbamare (or other quality sea salt of choice)
1/4 cup tahini (organic!!)
Juice of 1 lemon,


Preheat oven to 450F

Chop beets into 2 inch cubes, (mine measured a very generous 2 cups when chopped) and place in a baking dish. Drizzle with avocado oil, sprinkle with Herbamare and roast for approx 30 minutes, or until the beets are soft thru when poked with a sharp knife.

Remove from oven and cool until just about room temperature
When beets are cool, scrape them and all of the pan juices into a food processor. Add the tahini, and lemon juice. Process until mixture forms a nice smooth paste, stopping and scraping down sides of processor bowl a few times during the process.

Scoop hummus from processor into serving bowl or storage container. Chill before serving alongside a nice organic veggie tray!!


Wednesday, 3 September 2014

Homemade Taco Seasoning

This is a mix I have used for quite a while for anything that you want that bit of Mexican flavour with. I have always called it taco spice, but it works equally well for fajitas and nachos too.  I really like knowing what ingredients are in spice mixes, and this gives you complete control. Smoked paprika gives a wonderful smoky flavour to the mix. If you cannot find it, a regular paprika would do, just not a hot one. If you like it spicy, use the whole amount of cayenne. As always, choose organic herbs and spices whenever possible. The oregano that I used this time was dehydrated from my garden. I used my mortar and pestle to grind it up. 
The onion powder is from a batch I made last year...I dehydrated a whole load of onions, and then ran them thru the blender to make my own onion powder. 
This mix works equally well with beef, chicken or turkey too! The recipe makes enough to just fill a 1 cup mason jar, and it should store well for at least 6 months in your cupboard.

Homemade Taco Seasoning

8 tsp chili powder
6 tsp smoked paprika
1-2 tsp cayenne
2 tsp salt
4 tsp cumin powder
4 tsp dried oregano
4 tsp arrowroot powder
2 tsp coconut sugar
4 tsp onion powder

Mix all ingredients together well and store in a 1 cup glass mason jar.


To use: Brown 1 lb meat of your choice (ground beef, chicken, turkey, chicken or turkey chunks or strips, strips of steak, etc) in , drain fat if desired. 

Add 3 TBSP of taco spice and ½ cup water to the pan.  Mix in well and simmer until the liquid is reduced and the sauce is thickened, approx 3-4 minutes.  Serve as desired. 


Saturday, 16 August 2014

Bacon Wrapped Stuffed Jalapenos

We generally have very little luck growing peppers of any kind in our garden. So when the lone jalapeno plant that we very apprehensively planted this year sprouted these beautiful spicy babies, we felt they were worthy of something special.
 Add some lovely Mark’s Almost Famous Bacon,
(can't seem to find a website to link to, but we sell it at Goodness Me!)
 and some cheese, and you have an awesome appetizer, guaranteed to please! I used a lovely Gouda that paired nicely with the flavour of the thyme and smoked sea salt. (If you don’t have smoked sea salt, substitute with a nice Celtic or Himalayan sea salt.) The red peppers are actually just ripe jalapenos. When they ripen and turn red they have a slightly sweeter and hotter piquancy to them. Green or red, whatever colour you happen to have, this recipe is tasty and so darned easy, you have to make them!! I highly recommend wearing gloves when you take the ribs and seeds out of the peppers, my thumbs are still tingling as I type out this recipe, and I really was being ever so careful to limit my exposure to their heat.

Bacon Wrapped Stuffed Jalapenos
I had two very large and two
fairly small Jalapeno's, this
amount of filling should fill 4
average sized jalapenos
very nicely.

4 Jalapeno peppers
8 slices of nitrate free bacon
2/3 cup cream cheese
2 cloves garlic, minced
½ tsp dried thyme (rubbed between your palms to crush well)
½ cup grated Gouda cheese (Mine was a very generous ½ cup!)
Smoked Sea Salt and Fresh Ground Black Pepper to taste

Preheat oven to 375F.

Wearing gloves, cut the jalapenos in half lengthwise, and remove the ribs and seeds and discard. Set peppers aside.
In a medium sized mixing bowl, mix the cream cheese, garlic, thyme, Gouda, salt and pepper together until well incorporated.
Divide filling evenly between the pepper halves, and wrap each with a strip of bacon, securing with a toothpick.

Place in an oven safe dish and bake for 35-40 minutes or until the bacon is fully cooked and just beginning to crisp up. The cheese should be softened and starting to bubble.

Remove from oven and cool slightly before serving. Best eaten while still warm J
We served them with prime rib steak,
pan fried portabello mushrooms,
freshly picked Swiss chard and
pan fried potato slices...heaven!!


Thursday, 31 July 2014

Grain Free Cherry Coconut Zucchini Loaf

Anyone who follows me on my Facebook recipe page will know that I am in the midst of being inundated by zucchini. It is the season that all gardeners love to hate, and I am no different. Two zucchini plants keep us in zucchini for a good chunk of the summer and into the fall. But they grow like crazy!!! One minute you have beautiful tiny little zucchinis, and the next minute you have these gargantuan beasts that resemble watermelons more than the summer squash they are. I have no idea how they actually accomplish these spectacular feats of growth overnight, but it really is kind of amazing.

They really are delicious, too, and I have been going crazy pinning zucchini recipes on my Pinterest page. From sweet to savory, (and even a soup recipe!) I cannot wait to try out some new recipes.
I made this zucchini loaf today, and it turned out quite tasty. The sour cherries add a lovely zing of flavour to this moist grain free loaf. It was a great use for one of the smaller of the 6 (!!!) zucchinis that I pulled from the garden yesterday.

 A slice of this loaf would be lovely to have with a nice cup of tea on the patio…now I just need to find the time to sit and relax!

Grain Free Cherry Coconut Zucchini Loaf

4 eggs
1 T Apple cider vinegar (I like this one!)
1 cup milk kefir (or yogurt or non-dairy substitute of choice)
1/3 cup coconut oil, softened
½ cup coconut flour
¼ cup arrowroot flour
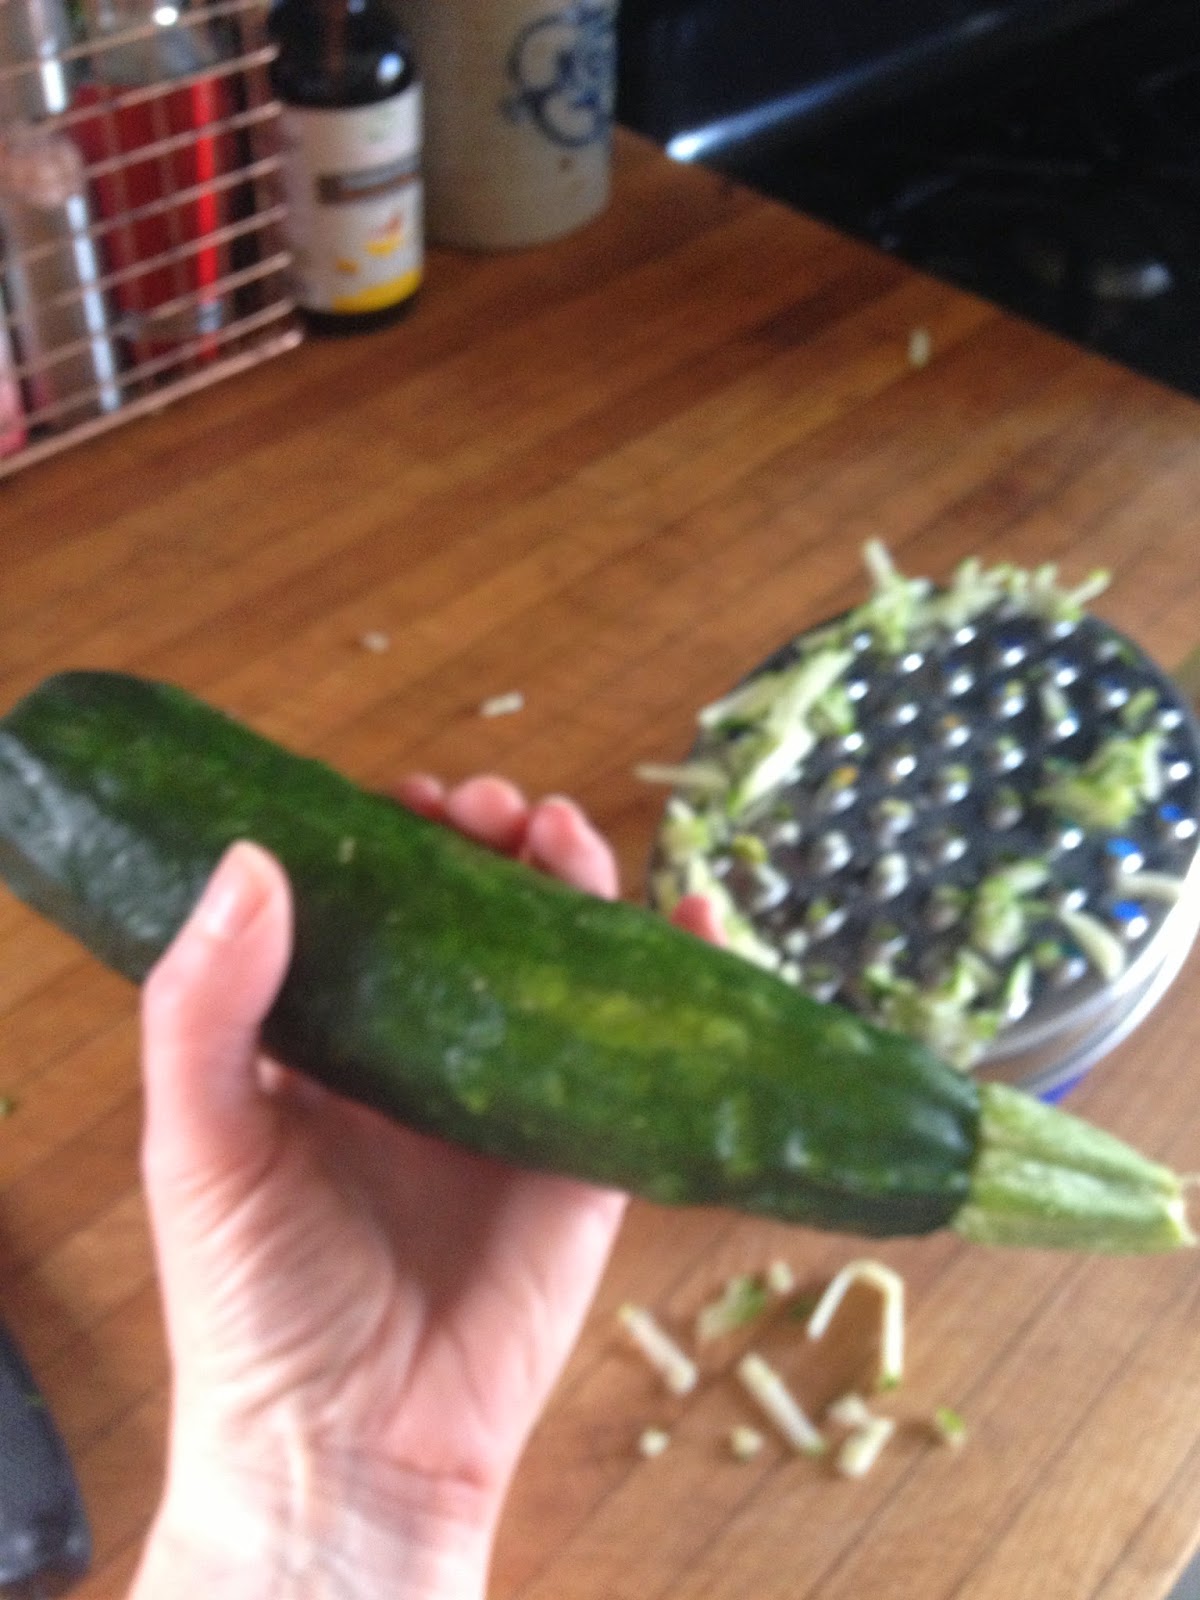
This sized zucchini grated into
 a generous 1 1/2 cups
2 Tbsp chickpea flour
1 tsp baking soda
½ cup coconut sugar
1 tsp vanilla powder (or 2 tsp vanilla extract)
¾ tsp sea salt
1 ½ tsp cinnamon
ADD INS:
1 ½ cups grated zucchini (mine was a very generous cup and a half!!)
½ cup dried sour cherries (sub raisins or dried cranberries if you wish)
½ cup shredded coconut


Preheat oven to 375F. Line a loaf pan (mine measures 9.25x5.25x2.75) with parchment or grease well.
 Set aside.

Measure all ingredients EXCEPT the add-ins into a large mixing bowl. Blend together well with an immersion blender or a whisk and lots of elbow grease. Let stand 5 minutes to thicken up.

Grate zucchini with a regular sized grater
Place grated zucchini on a clean kitchen towel, and gather the top together

 and squeeze out as much moisture as you can.


Add squeezed zucchini, coconut and dried cherries to the batter and mix in until well distributed.
Scrape batter into prepared pan. 

Bake in preheated oven for 65-70 minutes or until a toothpick inserted in the center comes out clean.
Remove loaf from pan using parchment, and set on a wire rack to cool before slicing.

Store leftovers in refrigerator or freezer. 


Saturday, 12 July 2014

Light and Lemony Poppy Seed Dressing

This simple dressing goes together in the blink of an eye, and is perfect for any light summer salad. It will keep in your fridge for up to a week with no problem. 

Light and Lemony Poppy Seed Dressing

½ cup olive oil
2 Tbsp raw apple cider vinegar
Juice of 1 Lemon
2 Tbsp Maple syrup
1 tsp Herbamare or sea salt
2 Tbsp poppy seeds


Measure all ingredients into a 2 cup mason jar. Screw on Metal lid, shake well, and use on salad of choice. 


Pictured on fresh garden lettuce and baby
kale, avocado and tomato


Pictured on a quick salad of grapefruit, avocado
and chiffonade-ed basil. A quick and tasty lunch!


How to "chiffonade" basil: 
stack basil leaves in a pile...

roll them up like a cigar
as best you can...
thinly slice with knife, ta da! Basil Chiffonade!