This blog is all about Food. Real Food. Food that Nourishes, Heart and Soul.

Real Ingredients, Organic and Locally sourced whenever and where ever possible, shared with love.

No packages, no ingredients that are impossible to pronounce.

Real, honest food, from my kitchen to yours. Enjoy!

Showing posts with label Dessert. Show all posts

Thursday, 5 July 2018

Keto Pannacotta with Roasted Strawberry Rhubarb Topping


I've been a bad blogger of late, and offer heartfelt apologies for not sharing many recipes over the past while. I've been on a bit of a ...digestive journey?... for lack of a better way to put it! With the help of my naturopath, I feel like I am making some headway in my digestive health, but it has definitely changed the way I have been eating, as well as my creation of new recipes. 
It has been a journey...I've been off dairy, back on dairy, and now off  all soy, cane sugar, and potatoes, (which includes arrowroot and tapioca starch...for those that have followed my baking in the past...you will understand the lack of baking!!) But...I am feeling much better digestively, so I am more than willing to keep following this path! One major thing that I have noticed is my almost complete lack of sweet tooth now. The only sweetener I have used lately is the Lakanto Monkfruit sweetener , but very sparingly. I  find I am not missing sugar at all!!

So, here's were we enter the Keto craze! Being very similar to the way I've already been eating lately, I decided to give it a go, and see if I could budge some of the weight I have slowly and steadily put on over the past few years. After figuring out my Macros (thanks to my son...lol) and using a tracker to log my meals, I am making progress! But...you all know me well...my creative cook side has been dying to come up with some Keto friendly treats...which leads us here today! I love pannacotta, it is such an easy but elegant dessert for hot summer days. I used my regular pannacotta recipe from this blog as a guide, and created this one, that is both Keto friendly and delicious!! 

This is the very first Keto recipe I have posted, but if you follow me on Instagram, I have posted pic's of many meals over the past few weeks. If there is anything posted there you would like to see written out, let me know!! 

Keto Pannacotta (non dairy)
Makes 6 servings , approx 56 calories each, with 5g carbs, 4 g fat, 1 g protein per serving)
4 tsp gelatin
½ cup water
1 can evaporated coconut milk (see pic at the bottom of this post for the brands I used)
Sweetener of choice (completely optional…I didn’t include any as this coconut milk already has a bit of coconut sugar in it, and I find it perfectly sweet enough for me)

Measure your water into a small pot. Sprinkle the gelatin evenly over the water and let sit for about 8 minutes. After the 8 minutes, place over low heat and stir until gelatin is dissolved. Don’t boil!!
When it is completely dissolved, add the can of evaporated coconut milk and stir well. Add additional sweetener of choice here if using!) Stir well.
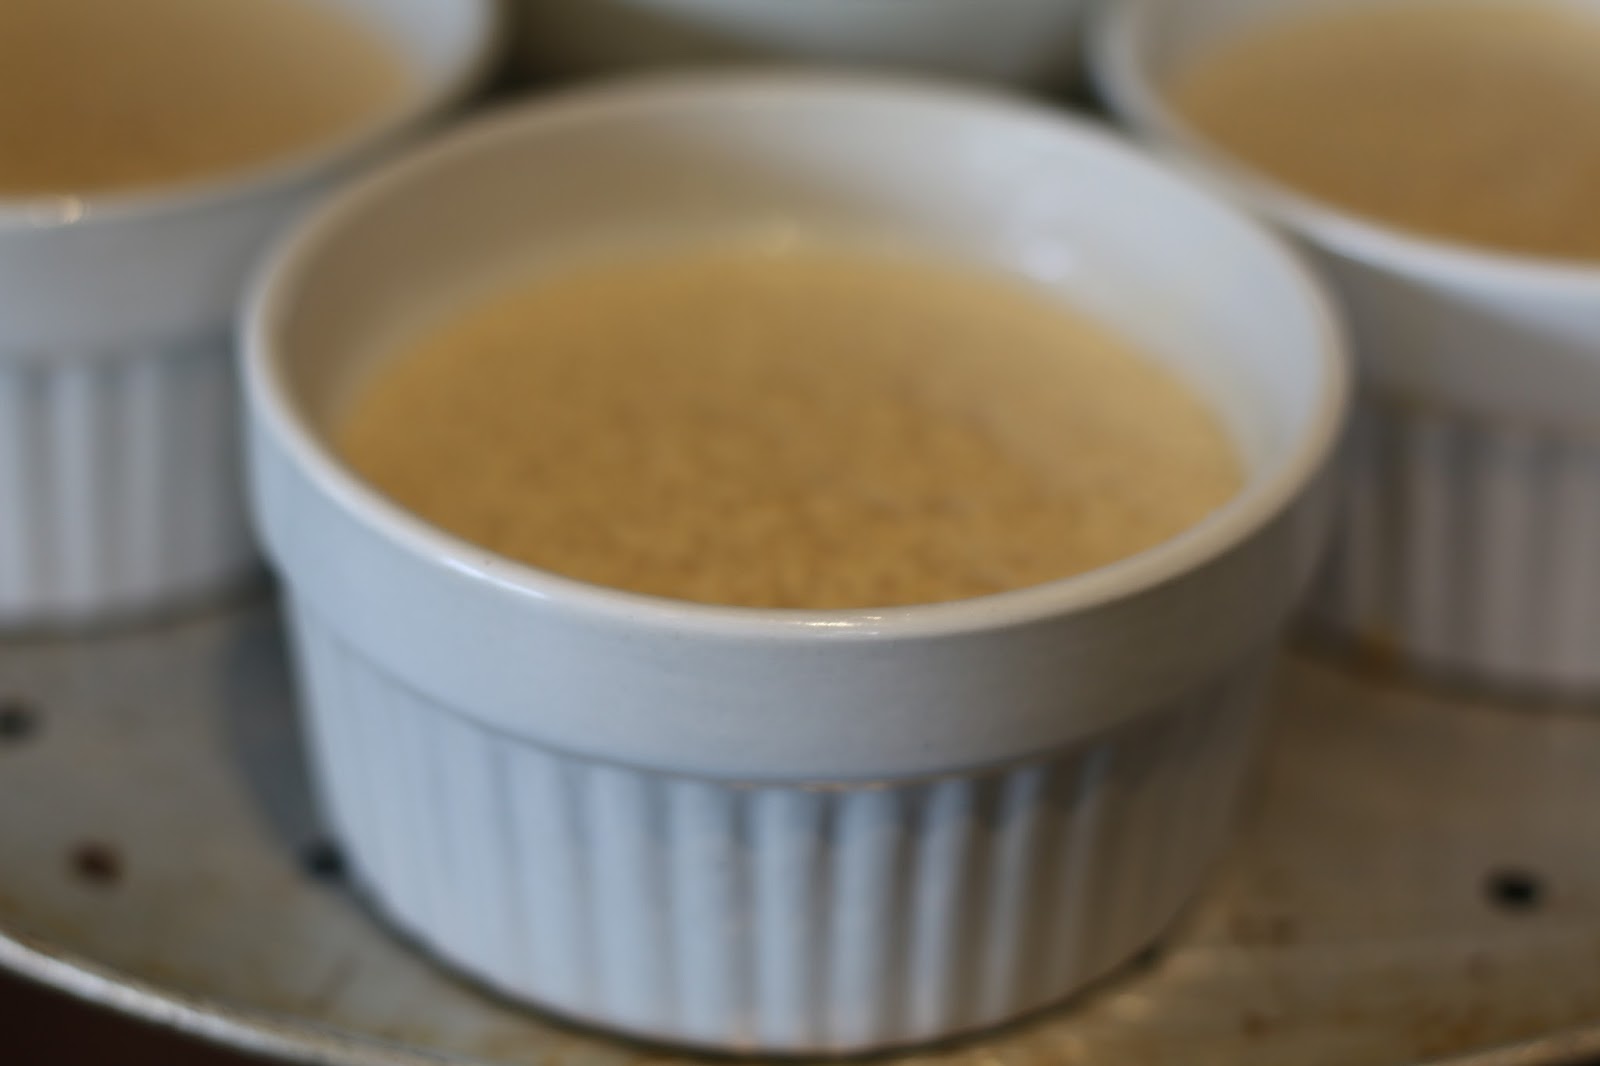
Pour into 6 small containers (I use small mason jars with lids. Great for storage and my lunch bag!, but small ramekins would work as well. )

Chill for a minimum of 2 hrs before serving to give it time to set well, especially if you are going to unmold it to plate!
To unmold: run a sharp NON SERRATED knife (a serrated blade will leave funky patterns on the edge of your pannacotta…not so pretty!!) around the edge of the jar or ramekin, turn upside down, and with a gentle shake, unmold your panna cotta onto serving plate.
Alternatively, place topping on top of panna cotta in serving container and serve as is! (see picture below of a regular panna cotta with a mango topping for inspiration!)
Top with topping of choice and serve!


Keto Roasted Strawberry Rhubarb Topping
(makes approx 2 cups, I use about 1.5 tbsp as a serving size...approx 17 calories, 3 net carbs, 1 g protein and 1 g fat)
200 g of rhubarb, cut in smallish pieces (I used approx 5 stalks that were about 12 inches long, they were about finger sized in diameter, for an easy reference)
½  lb strawberries (I used ½ of the clamshell container!)cut in ½ or ¼’s, depending on the size of your berries. You want the chunks to be smaller, just a bit bigger than the rhubarb.
2 tsp Lakanto Monkfruit sweetener (or sweetener of choice)
½ cup water
1 tbsp chia seeds

Preheat oven to 375F
In a glass 8x8 baking dish, place your chopped fruit. Pour in the water and sprinkle sweetener evenly over the fruit. Bake for approx 25 minutes, or until your rhubarb is softened up nicely. Remove from oven and set aside to cool slightly( 10-15 min). Stir in the chia seeds and let stand for approx 20 minutes, stirring often. This will thicken up the liquids and give a loose jam like consistency to your fruit.

When fruit is room temperature, transfer to serving dish or storage container for future use. (2 cup mason jar is perfect!) Keep refrigerated! (should last 4-5 days in the fridge)
used these in the recipe!

this is a regular pannacotta that I made a while back,
with a pureed mango topping, but it gives you an idea
for presentation...I used stemless wine glasses...pretty!!
One of the meal's I posted on Instagram, soooo yummy!!


Saturday, 15 July 2017

Espresso Panna Cotta

Coconut Milk version,
 using a 1/2 cup Mason Jar
pan·na cot·ta
ˌpanə ˈkōdə,ˌpanə ˈkädə
noun
  1. -"a cold Italian custard, often served with fruit sauce or caramel syrup".

Panna Cotta translates from Italian to mean "cooked cream", and has become my favourite summer dessert this year. 
Elegant in its presentation, and simplistic in its preparation, its a win win dessert that doesn't even heat up your kitchen! It does require some time to set properly, so plan accordingly if you want it ready for dessert!

"Richer" version, using a 1 cup  Ramekin, filled 3/4 full
I have made multiple versions of this espresso version this summer, and decided to post my three favourite variations, as they all shine in their own way, and deserve a wee bit of the spotlight, depending on your tastes and dietary needs!
The lighter version is great when you want a dessert that is a bit less substantial, but every bit as lovely and tasty as the other versions. The "richer" version has a much creamier texture and velvety smooth mouth-feel that ups the ante a notch or two, making it just that wee bit more decadent. In the dairy free version (created just for my foodie friend Ken!) the coconut milk marries so well with the coffee flavour, it just might be my favourite... if I was ever forced to choose just one...  

Although I haven't tried it yet, you can also make Panna Cotta with fruit juice...picture a lovely mango Panna Cotta topped with a blackberry thyme coulis....I can see many more versions being created before summer is over!

This recipe does make quite a few Panna Cotta's, depending upon the size of container you choose. You will end up with approx 6 cups of liquid Panna Cotta, so choose your serving sizes accordingly. (feel free to cut the recipe in half, but the extras are a lovely indulgence to keep in the fridge ;) ..... 

When I am making it for company, I will choose several straight sided containers that will un-mold well (short mason jars, ramekins etc) and then pour the rest into various mason jars with lids, to be eaten straight out of the vessel as a treat in our lunches.  

A few quick notes on my choice of ingredients:
  • For the espresso flavour, I like to use Mount Hagen Organic  Instant Coffee. They have a regular and decaf version, that gives a seriously impressive coffee flavour to this dessert. 
  • Coconut sugar is almost always my sweetener of choice, for its lower glycemic rating, and its caramel like flavour. The darker colour will affect the end colour of your Panna Cotta, so if you were making a plain version of this without the coffee granules, you may want to substitute with an organic white sugar or honey to eliminate the caramel colour that this will give. So, feel free to substitute with your sweetener of choice. (I am thinking maple syrup may work well with the espresso flavour as well...hmmmm....)
Enough of my rambling, lets get to the recipe!! 

Espresso Panna Cotta, 3 Ways: 

Lighter Version
Full Fat “Richer” Version
Dairy Free Version
6 cups milk, your choice of lower or full fat
4 cups full fat milk PLUS
2 cups , full fat sour cream
3 cans (400ml)  full fat coconut milk
2 ½ TBSP gelatin powder
2  TBSP gelatin powder
½ cup Coconut sugar
½ cup Coconut sugar
1/3 cup Coconut sugar
3 TBSP Instant Coffee Granules

Method: (for all three versions)
In a small saucepan, measure out ½ cup of the milk, and sprinkle the gelatin powder over the top. Let rest for approx 8-10 minutes.

While the gelatin is sitting, measure the rest of the ingredients into a large blender and whiz quickly until well combined. Set aside.

When the gelatin/milk mixture has finished resting, turn the heat on medium low and heat gently, stirring often, until the gelatin is dissolved, approx 5-8 minutes. Do not boil!

When dissolved, remove from heat, and, with the blender running on low speed, carefully remove cap from blender lid,  and pour the hot gelatin mixture into the blender with the rest of the ingredients. Replace lid and turn on high to blend for 30 seconds.

Pour into desired serving dishes*** and chill for a minimum of 2 hrs or until fully set.
Round jars like this will not un-mold, but...will fit nicely in your lunch bag :)

If your ramekins have a small lip as
mine do, only fill to the bottom of this lip
or it will not come out easily. 

***Serving options
A: To eat as is:
pour into ½ or 1 cup mason jars, or other small vessels, and chill as above.
B: To un-mold:
Lightly grease small straight sided ramekins or other like vessels.
SIDES MUST BE STRAIGHT (or flare gently outwards) FOR THIS TO WORK!!
Pour into ramekins and chill as above. To Plate: Carefully run a knife around the edge of the Panna Cotta,  making sure you get right to the bottom of your vessel. Take care to be as smooth and even around the edge as possible.  (if doing this for the first time to serve to company, you may want to practice with a few to get the hang of it!) Carefully turn ramekin upside down over serving plate and using the knife carefully dislodge the Panna Cotta onto the plate. 
Garnish as desired.
(chocolate Sauce recipe pictured here can be found HERE)


Sunday, 12 March 2017

Orange Chocolate Chia Donuts (Grain Free, Gluten Free, Sweetened with Honey)


These little heavenly morsels were created for two reasons. The first being that I was ever so kindly given a bag of Salba Chocolate Chia Seeds a while back to see if I could come up with a recipe to incorporate them into (thanks Deb!) They have been sitting staring at me for way too long, awaiting a burst of inspiration for a new recipe. 

On to reason number two… We have been house hunting as of late, and our wonderful agent-who-is-also-my-sister-in-law has been driving us around kingdom-come for a number of weeks. We were embarking on another road trip and I wanted to surprise her with some tasty treats for the drive. (She is celiac, so cooking for her, with all of my own dietary issues, is a proverbial piece of cake!) So on went my thinking cap. My brain jumped to donuts pretty quick, and these lovely little chocolate coated chia seeds were screaming at me to use them. I also had some beautiful organic cara-cara oranges, for further inspiration. Chocolate and orange is such a classic combination that is so well represented in these lovely little morsels, I was absolutely thrilled with the results! The texture is not unlike a poppyseed muffin or loaf, with a delightful bit of crunch, and the mix of flavours conjures
 a little happy dance in your mouth!  So, to Deb and Jo, a labour of love, and a brand new recipe!

This is also my first post using pictures taken with my son Mac's amazing camera..I am totally enamored with it..(so much that he had to buy me my own memory card so I quit filling up his...)

Orange Chocolate Chia Donuts

½ cup tapioca starch
½ cup coconut flour
1 tsp baking soda
¼ tsp salt
3 eggs
Zest from 1 orange (make sure its organic!)
Juice from one orange (3-4 tbsp approx)
¼ cup melted coconut oil (***see end of post for handy tips to melt your oil!)
¼ cup honey
¼ cup kefir, yogurt or non dairy alternative
______
¼ cup chocolate chia seeds (Salba brand)

Preheat oven to 350F

Grease the donut pan with coconut oil or butter and set aside.
I love my silicone baster for greasing pans!!

Measure all ingredients except chia seeds into a large mixing bowl and mix with an immersion blender until well blended. If you measure your coconut oil first, and then use the same scoop for your honey, it will slide right out of the cup, no scraping required!! 
Handy dandy kitchen rasp is awesome for zesting citrus fruits!
be sure to zest first, and then cut and juice your orange !


 Ensure no lumps are left.

Stir in the chocolate chia seeds and let stand for 5 minutes to thicken up.
Scoop batter into a zip top bag, squeeze out the air, zip, and cut off one bottom corner of the bag (alternatively use a piping bag with no tip), 
fold the edge of your zip bag down when filling to keep it clean!

and squeeze evenly into pre-greased donut pan.
 
Bake in preheated oven for approx 10-12 minutes or until cooked thru.
Tip out onto wire cooling rack to cool completely before enjoying!
Store at room temp in an airtight container for 2-3 days. 
Alternatively freeze for later enjoyment!
 

***How to melt your coconut oil with ease!!
I keep my coconut oil in a mason jar, and melt it one of two ways: 
1. in-front of the vent on my
gas stove-top

2. immerse jar in your hottest tap water until
melted enough to pour out your measurement!


Monday, 13 June 2016

Gluten Free Rhubarb Crisp

I love rhubarb. It has been a part of my life for as long as I can remember. My Grandma Pringle had a large lovely row of rhubarb growing in her garden every spring (along with a cherry tree that grew two kinds of cherries, gooseberries, and the most wonderful black raspberries ever!!) Their house in the summer was the best place to visit… my brother and I spent many an hour pilfering whatever was ripe and in season at the time.  My love of both food and gardening definitely had its start in that lovely backyard of delights, and for that, I am thankful.  

This crisp is delicious. The topping has a delightfully crisp texture, and if you decide to add the pecans, they add a lovely crunch. (my eldest son prefers the version without…but he isn’t much of a nuts-in-baked-goods fan. If you like pecans, throw them in…they won’t disappoint!) Made with maple syrup, it is refined sugar free as well as gluten free!

The strawberry version is every bit as good as the straight rhubarb version. Try them both out…let me know which your favourite is!  We served ours with a nice scoop of good quality vanilla ice cream (look for one with ingredients you can pronounce!!)

Gluten Free Rhubarb Crisp

Fruit base:
8 Cups washed and chopped rhubarb (or 6 cups rhubarb and 2 cups sliced organic strawberries)
3 Tbsp arrowroot flour
¼ cup maple syrup

Topping:
½ cup rice flour
1 ½ cup large flake oats
¼ cup arrowroot flour
½ tsp salt (if your butter is unsalted increase to 1 tsp)
½ cup butter (1 stick, cold!)
½ cup maple syrup
Optional: 1 cup chopped pecans (really good addition!)     
 
Preheat oven to 350F

Toss rhubarb (and strawberries if using) with the maple syrup and arrowroot (the first measurement) in a large 9X13 glass baking dish. Set aside.
In a medium mixing bowl, stir together all of the dry topping ingredients. 

Using a box grater, grate the stick of cold butter into the bowl, and then rub into the dry ingredients with your fingertips until it is well combined. 
Stir in maple syrup and mix again until it makes a nice thick batter. Drop by spoonful evenly across the top of the prepared fruit. 
Bake in preheated oven for 35-40 minutes, or until fruit is bubbly and topping is starting to brown and get crispy.
Remove from oven and cool slightly before serving.
Store leftovers, covered, at room temperature for a day or two, if they last that long!
When the temperatures outside soar, I love to use
my bbq as a second oven, to keep the heat
out of my kitchen!  Bricks help to
keep the heat more even,and The oven
thermometer is great for keeping an eye
on the temperature. 


Monday, 5 October 2015

Roasted Pears

Fall is pear season (and apple season, and squash season, and anything pumpkin season…!!) but I think the lovely pear too often takes a back seat in the whole fall harvest line up. Pears are delicious! They are high in fibre (more so than apples!) chock full of flavenoids, they are easily digested and low on the allergen scale. What’s not to love?!

There are a myriad of ways to enjoy this virtuous fruit.  Raw pears are lovely chopped or sliced into a salad with slivers of a nice sharp cheese and some toasted nuts (dip slices in a weak lemon water solution to mitigate the browning).  And, of course, who could forget this Honeyed Pear Upside Down Skillet Cake? These brilliant roasted beauties are also lovely chopped onto a salad too, adding a nice balance to a feta and greens combo. They also go well in chia puddings, (another post I am working on!) Pears really are the unsung hero's of autumn!

You will notice this recipe is rather large, and is perfect for a crowd. But with how tasty they are,  I am sure you will agree that more is better and leftovers are always used up in our house! If you do want to cut it down, reduce your ingredients accordingly except the liquid, only take it down to ¾ of the amount. The juices that accumulate in the bottom of the pan make a lovely drizzle, you won't want them to roast dry. 

Roasted Pears

9 Pears (Bosc, Bartlett or Red Bartlett all work well)
3 Tbsp butter, cold if possible, cut into 18 small pieces
1 tsp vanilla or vanilla powder
2 Tbsp coconut sugar (or other sweetener of choice, maple syrup and honey both work well, just drizzle instead of sprinkling)
1 cup liquid (you can get creative here! I usually use water, but have recently also used a nice hard apple ginger cider, but regular cider or apple juice would be lovely too)

Preheat oven to 400F

Cut pears in half lengthwise, and remove core and stem. A melon baller works wonderfully for the core, but I have used a teaspoon in a pinch.
Place pears cut side up in a 10x15 glass pan (or two smaller pans if necessary).  Sprinkle with the vanilla and the coconut sugar. 
Place a small piece of butter into each cavity. Add the liquid to the pan (if using two smaller pans, increase the liquid by ¼ cup for each pan)
Bake in preheated oven for 20 minutes. Remove from oven, and carefully flip the pears so the cut side is now down. Bake for another 20 minutes (at this point check to make sure the pears are soft thru…if your pears are on the firmer side you may need to add 5-10 minutes to the cooking time to cook them thru, you want them to be fork tender.)
Remove from oven and let cool slightly before serving with topping of choice. (we have topped them with whipped coconut cream, vanilla ice cream, this maple custard, or just on their own. )


Pears pictured here topped with
a lovely vanilla ice cream and
a drizzle of pan juices 
These pears were roasted with a hard cider,
in a cottage on Lake Seneca for
 a friends birthday. We topped them with
whipped coconut cream and served with a
really fast ginger espresso  meringue-like
 cookie that I winged!