This blog is all about Food. Real Food. Food that Nourishes, Heart and Soul.

Real Ingredients, Organic and Locally sourced whenever and where ever possible, shared with love.

No packages, no ingredients that are impossible to pronounce.

Real, honest food, from my kitchen to yours. Enjoy!

Showing posts with label Bone Broth. Show all posts

Wednesday, 21 October 2015

Roasted Carrot Soup with Leeks and Thyme


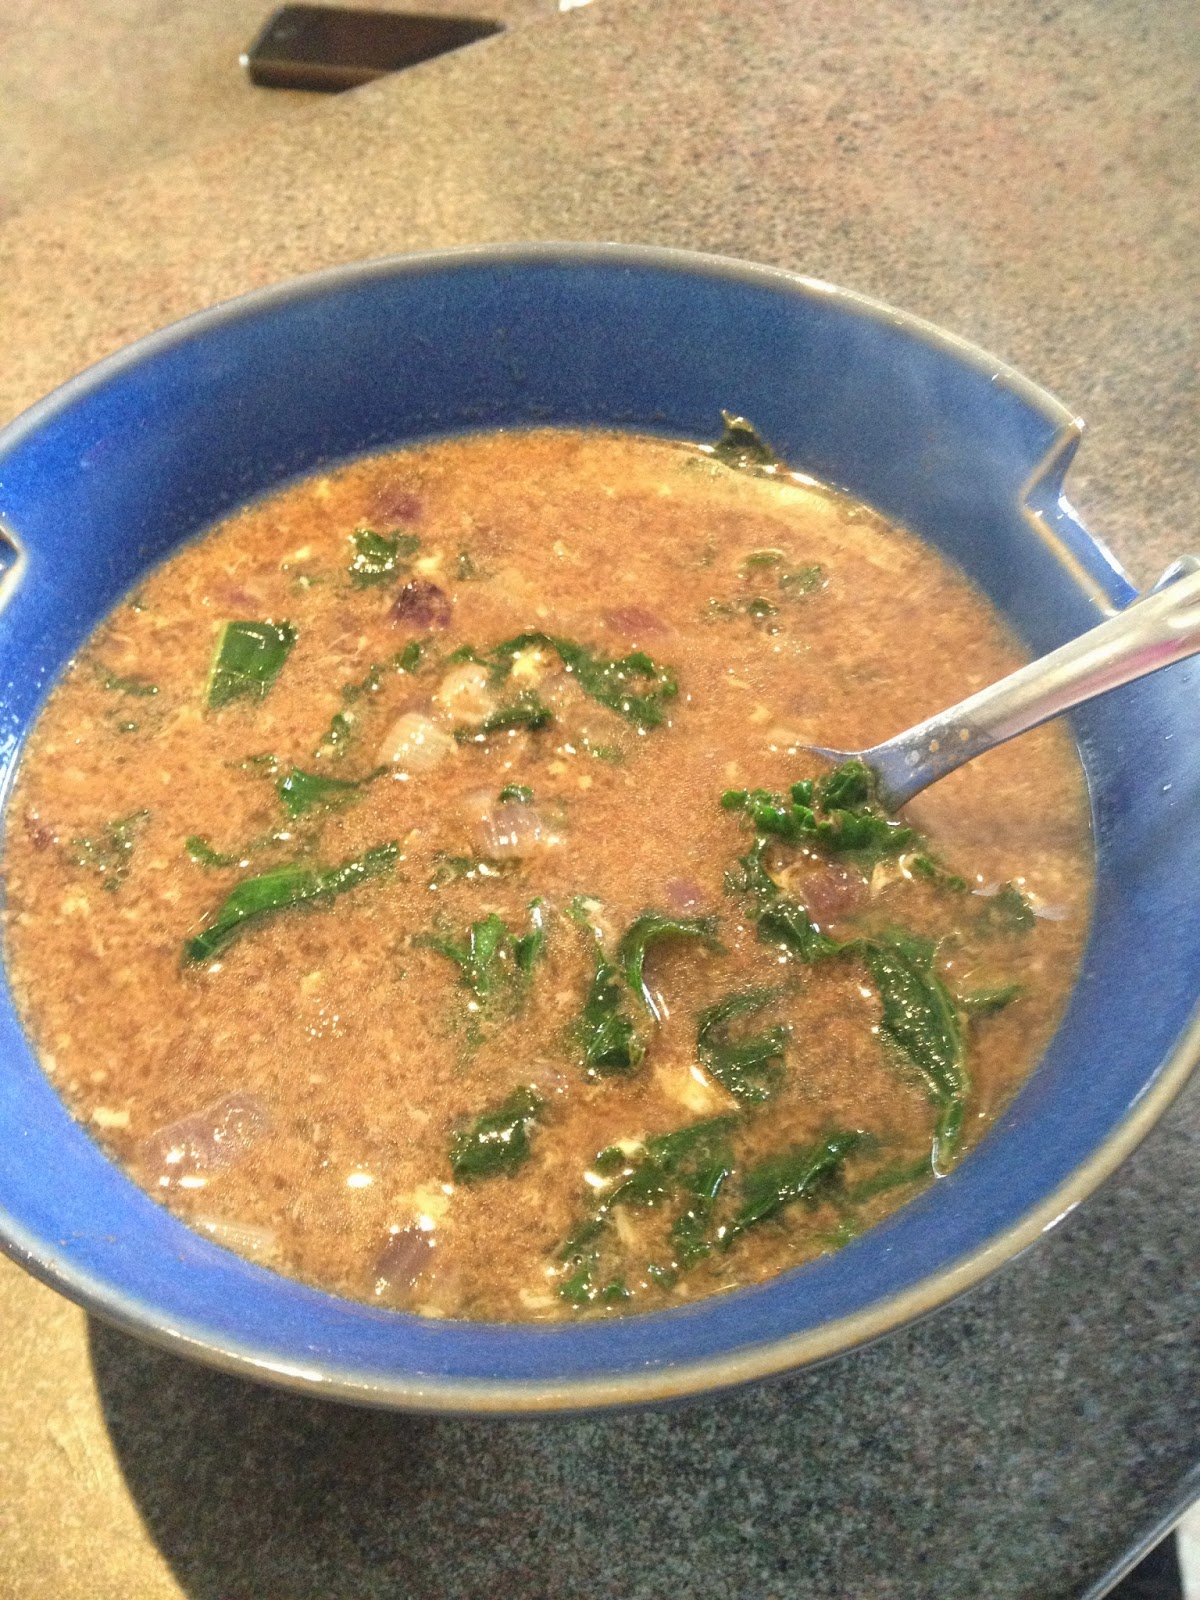
With this cooler weather upon us, thick hearty steaming bowls of homemade soup can warm your insides better than a cozy blanket by the fireplace. Soup is one of my favourite fall meals, its like a warm inside out hug.
This one takes a bit of time to prep, but you can always roast the veggies when you have your oven on for something else and refrigerate them until you were ready to make soup. Saving that roasting step would have this soup on the table in 20 minutes flat.


The carrots in my garden this year are lovely and this soup is a wonderful showcase for their delicious flavour. It is creamy and smooth without the need for dairy (although a swirl of sour cream would be lovely on top…!) I don't peel my
carrots for this recipe, but you may want to for store bought carrots.

As with most of my soups I prefer to use my homemade bone broth as the base. Nutrient dense and made from what would typically be waste; bone broth is both frugal and delicious! If you choose to use a store bought stock, be sure to read the ingredients first and avoid any with ingredients you cannot pronounce (and therefore should not eat!!)


this handy tool strips
the tender thyme leaves
 from the woody stem,
easy as pie!
Roasted Carrot Soup with Leeks and Thyme

Approx. 2 lbs of carrots, peeled if necessary and chopped
5 cups chopped leeks, (rinsed, white part only-see ***below)
2 Tbsp avocado oil (or coconut)
2 Tbsp fresh thyme, woody stems removed
1 tsp herbamare or sea salt of choice
5 stalks celery, chopped
2 Tbsp butter
8 cups bone broth or broth of choice.

Preheat oven to 400F.

On a large parchment lined baking sheet, toss chopped carrots and leeks with the avocado oil, thyme and herbamare.
Pictured without the thyme, I forgot to add it
before I took the picture :(
Roast in preheated oven for 30 minutes. Stir on the pan and roast for another 20 minutes.

When veggies are done, remove from oven and set aside.

In a large pot, melt the butter over medium-high heat until it starts to bubble. Add celery, and stir frequently until it starts to soften, approx 8-10 minutes. Add the roasted veggies and your broth. Bring to a boil, then reduce to a simmer for 10 minutes.

Remove from heat, and puree til smooth with an immersion blender (or whiz in a blender, in batches if necessary, being careful as hot soup in a  blender can be dangerous!!)


Check for seasoning and serve hot!


***Prepping your Leeks!

Cut leeks where they just start to turn colour. Using a bit of the green is ok! Trim off the root ends.
Cut the trimmed leek pieces in half lengthwise. 
Rinse well under running water, leeks are often sandy in between their layers. 
Chop and use as directed :) 


Saturday, 7 February 2015

Egg Drop Soup with Kale and Miso

I was driving home the other day, and talking to my hubbie on the phone(using the  Bluetooth in my car, of course...safety first!!) about what he was going to feed me when I arrived home (He had the day off, it was his turn to cook!). He was going thru all of the bits and pieces of leftovers in the fridge, but they were all spoken for already other dinners (these lovely Stuffed Baked Sweet Potatoes from Against All Grain were one of those meals). I could hear his frustration building as we spoke…there was NOTHING to eat quickly….or so he thought, silly guy! I had him start sautéing some veggies, and when I arrived home threw the rest of the soup together in a flash. We had two beautiful bowls of hearty, nutrient dense soup that was absolutely delicious, and ready in about 20 minutes flat. (and the bone broth was frozen too!) Dilemma solved, and in such a tasty way!


Egg Drop Soup with Kale and Miso
Makes 2 generous bowls of soup.
 1 medium red onion, peeled and chopped
1 cup chopped kale, (approx 2 lg leaves) thick stem removed
1 clove garlic, minced
1 tbsp avocado oil (or coconut, or butter)
2 cups bone broth (use beef or chicken, I believe we used beef )
1 cup water
1 tsp Mame miso (or miso of choice)
2 tbsp water
½-1 tsp sriracha sauce (optional, look for one with good ingredients!)
2 eggs, lightly beaten
Smoked sea salt to taste

This is a traditional soybean
Miso... there are many other
types. The flavour will differ
slightly, but any of them
would work!
In a medium pot, sauté the onion and garlic for 2-3 minutes over medium heat. Add the chopped kale and sauté until the veggies just start to brown and soften, 3-4 minutes more approx.  Add bone broth and the first amount of water. Bring to a boil, reduce heat and let simmer. (if your bone broth is frozen, like mine almost always is, add the frozen stock to the veggies, put a lid on the pot and leave on medium heat until melted, then bring to a boil and simmer)
While it simmers, in a small bowl, mix the Miso paste with the second amount of water until well combined.  Add the sriracha if using, and stir into gently simmering soup.
Slowly drizzle the beaten eggs back and forth over the surface of the soup, taking care not to pour all in one spot. Lightly stir (you don’t want to mix the egg in totally) until the egg turns opaque, approx 1 minute.

Season with salt and serve warm. 


Tuesday, 8 April 2014

Leftover Beef Skillet Supper

This was one of those improvisational dinners that turned out really well. Thumbs up from the teenagers, fast and frugal. Win Win Win!
When I make my bone broth, if my beef bones are meaty enough, I pull them out at the 10 or 12 hr mark, pull off the cooked beef, and put the bones back in for the rest of the time. The beef, by this time is lovely and tender, and is usually enough for an entire meal. I like to buy my beef stock bones from Oakridge Acres. I "stock" up(pardon the pun!) whenever we go out there to shop. They are meaty and big, and considering all of the wonderful goodness you get from them, a very frugal purchase. Two packages generally make about 10 cups of bone broth, and a meal from the pulled meat. For under 4$ a package, it helps to balance out the rest of our food budget.
I love my cast iron skillets for dishes like this, a quick saute and they can go straight in the oven, giving you time to toss a nice green salad and whip up some dressing, like this maple balsamic that is one of our faves! Feel free to substitute any leftover beef or chicken in this recipe, its a great way to use up leftovers!

Leftover Beef Skillet Supper

1 large red onion, peeled and chopped
1 tbsp coconut oil
3 cloves garlic, minced
1 tsp dried thyme
1 tsp sea salt or zesty Herbamare
1 cup Beef Bone Broth
1 796ml can of diced tomatoes (look for BPA free cans!)
4 cups pre-cooked beef
1 1/2 cups grated cheddar cheese

Preheat oven to 400F
Heat coconut oil in a large cast iron pan over medium high heat until melted and hot. Saute the onion for 3-4 minutes, stirring often. Add the garlic, thyme and salt. Saute for another 2 minutes. Add the tomatoes and beef, and stir well to combine. Top with grated cheese and using an oven mitt (cast iron handles get hot!!) place in hot oven. Bake for approximately 35 minutes or until the cheese is melted and slightly browned. Remove from oven and serve hot, with a nice tossed salad.


Monday, 24 February 2014

Braised Beef Shanks with Root Veggies, and a Cool Way to Peel Garlic!

When I have a day off, chances are at some point you will find me in my kitchen. Today was no exception. We brought home some beautiful beef shanks from our last trip to Fenwood Farms, and I took them out to thaw yesterday, knowing that today would be a perfect day to put the oven on for a long braise. This cut of meat does beautifully with a long cooking time, along with something slightly acidic added to the cooking liquid. I used some apple cider vinegar, along with a cup of red wine. This helps to break down the tough connective tissues that are typical of this cut of meat.  Beef shanks are generally a cheaper cut, with 3 large shanks providing 6 meals for right around 20$, not including the veggies etc.  Frugal, tasty and nutritious, all in one pot.


Braised Beef Shanks with Root Veggies

3 Beef Shanks (3-4 lbs total weight)
2 tbsp coconut oil, divided
1 lg onion, chopped
4 carrots, chopped
5 parsnips, chopped
1 stalk celery, chopped (I used a handful of small ones)
1 head of garlic, peeled and diced (***see amazing garlic peeling tip below recipe!!)
1 tsp each dried rosemary and thyme (I used fresh rosemary, increased to 2 tsp)
1 cup dry red wine
3 tbsp apple cider vinegar
3 cups bone broth (beef would be best, I used turkey, and it worked fine)
Salt and pepper to taste
3 bay leaves

Preheat oven to 375

Make sure all of your veggies are prepped  before proceeding with the recipe!
In a large oven safe pot with a lid (an enameled cast iron dutch oven is perfect), heat 1 tbsp of the coconut oil and brown the beef shanks over medium high heat, one at a time if necessary (don’t crowd them, you want them to brown not steam) for about 3 minutes on each side. you want to see some nice browning. (turn on the fan in your range hood if you have one, it can get a bit smokey!)
Remove the shanks to a plate and set aside.

With the pot still on the burner, add the second tbsp of coconut oil, and add the chopped onion, carrot and parsnips. Saute for 4 minutes, stirring often.
Add the celery, herbs and garlic, and season with salt and pepper. Saute for 2 minutes more.

Add the wine slowly, ¼ cup at a time, to deglaze the pan. Scrape any browned bits from the bottom, adding the rest of the wine, it will reduce slightly as you go.
Add the apple cider vinegar, and the bone broth, and stir to combine. Carefully nestle the beef shanks into the pot, submerging as much as possible. Tuck the bay leaves around the pot, cover, and place in preheated oven.


Bake for 2 ½ hrs. Remove the lid and bake for another 20 minutes. Remove from oven, remove bay leaves  and serve warm!


Amazing Peeled Garlic!

A while back, we saw a certain Ms. Stewart peeling whole heads of garlic using two stainless steel bowls, and just a quick shake. It works like a charm, and although it is slightly noisy, the garlic cloves come out beautifully peeled.  After a random search on Pinterest (I am more than slightly addicted to that site!) and one martini shaker later, beautifully peeled garlic is even easier!!!
Simply break up the head of garlic, put the whole thing in the martini shaker, put the lid on and shake like you would a martini, back and forth maybe 10 times. Voila!!  Your garlic is peeled, and ready to go!


Tuesday, 17 December 2013

Roasted Venison Stew

This is a great recipe to make on a Sunday afternoon. It fills your house with a mouth-watering aroma, and a taste that is wonderfully nostalgic-- comfort food at its finest. The browning/sautéing step deepens the flavours, and is a step that shouldn’t be skipped. The acidity of the wine, along with the long oven roast helps to tenderize the venison.  If you cannot find venison (we usually find it here), you could always substitute bison or beef stewing meat.


Roasted Venison Stew

2 tbsp coconut oil
1 lb venison stew meat, cut into bite sized pieces.
2 tbsp arrowroot starch/flour
2 tsp each dried thyme and rosemary
Salt and pepper to taste
---------
1 ½ cups chopped onion
4 large carrots, scrubbed and chopped into bite sized pieces
4 stalks celery, chopped
4 yellow potatoes, chopped into 1-2 inch cubes
1 ½ cups red wine
1 946 ml can of organic diced tomatoes (Eden comes in a BPA free can!)
2 cups of bone broth

Turn your oven onto 375F to preheat.
Toss the cut up venison with the arrowroot, thyme, rosemary, salt and pepper.
Heat the coconut oil in a large Dutch oven over medium high heat. Add the tossed venison, and brown. Don’t worry about cooking it right thru, it will finish cooking in the oven. You just want to create some nice colour and flavour. When it is nice and browned, remove to a plate and keep warm, leaving the pan on the burner.
Add the onions, and sauté for a few minutes. Add the red wine ½ cup at a time to deglaze the pan. Use a wooden spatula to loosen the brown bits from the bottom of the pan. The wine will reduce during this step, further enhancing the flavour of the stew. When the wine is all added,  stir in the chopped carrots, potatoes and celery, and sauté a few minutes more.  Add the tomatoes, bone broth and the browned venison and stir to combine. Bring the mixture to a boil, put the lid on the Dutch oven, and place into the preheated oven  to roast for 1 ½ hrs. Remove lid and leave it off. Stir well and roast  for another ½ hour.

Remove from oven and serve hot. 


Monday, 21 October 2013

Chunky Butternut Squash Soup With Bacon And Kale

With fall settling in to Southern Ontario, the days are rapidly changing from salad days to soup days. Hearty stick to your ribs kind of soups that comfort , nourish and warm you to the core. This is a perfect recipe for a fall lunch or dinner, I hope you enjoy it!
The squash could be roasted in advance to save a bit of time, making this an easy soup to get on the dinner table fast. 

Chunky Butternut Squash Soup With Bacon And Kale

1 large butternut squash
1 tbsp coconut oil
1 cup finely diced bacon
2 onions, peeled and chopped (a very generous cup full!)
1 bunch kale, tough stems removed, and chopped
1 tsp dried oregano
½ tsp paprika
½ tsp turmeric
1 clove garlic
1 tsp salt
7 cups bone broth (I used chicken)

Preheat oven to 375F
Cut squash into manageable chunks, peel and remove the seeds. Cut into 1 ½ inch chunks, toss with coconut oil, and roast in a large pan in preheated oven for 60 minutes. The squash should be softened and just starting to brown slightly. Remove from oven and set aside. 
Sauté the bacon in a heavy bottomed large pot, stirring often until just cooked thru, approx 4-5 minutes. Add the diced onions and cook until the onions start to soften, another 4-5 minutes. Add the Kale and the spices, and sauté for another 2-3 minutes.

Add the pre-roasted squash to the pot and lightly mash to break up the chunks slightly. This helps add some body to the soup.

Add 1 cup of the bone broth to the pot, and stir, scraping  to deglaze the bottom of the pan. Add the remaining broth and bring to a boil. Simmer for 5 minutes, and serve

Tuesday, 14 May 2013

Moroccan Chicken and Lentil Soup


These last few days of cold spring weather have left me craving soup. Salads on a cold day just don’t seem to warm your insides the way a nice bowl of soup does.  I had a big bowl of bone broth waiting to be bagged for the freezer, so I decided to make some soup for our lunch tomorrow with some of it. These spices are used together in a rub that we love on chicken. ( I think that recipe came from one of those old smaller sized  Chatelaine type recipe magazines that you see in the grocery store check outs?) We have used it here forever, and had it on some drumsticks on the grill this past week.  I thought these warming flavours would go really well in a soup, and my intuition was bang on. The lime definitely makes it...although it is not the first thing you taste, it pulls all of the flavours together beautifully.
I added the cooked lentils at the end, they were kind of a last minute inspiration, but they seemed to compliment the Moroccan vibe going on in the soup pot. I imagine you could add them dry when you add the stock and water to the soup and cook them at the same time, as they generally take about 20 minutes to cook on their own .

You can easily convert this soup for vegetarians by using veggie broth  and leaving out the chicken.

Moroccan Chicken and Lentil Soup

1 tbsp coconut oil
1 onion, chopped
1 ½ cups chopped carrots
2 cups purple cabbage roughly chopped
2 cloves garlic, minced
1 tsp salt
1 tsp cinnamon
1 tsp cumin powder
1 tsp curry powder
1 tsp allspice
4 cups chicken bone-broth
1 cup water
Juice of 1 lime
1 cup pre-cooked chicken
1 cup pre-cooked lentils**

Sauté the onion in the coconut oil over medium high heat for 3-4 minutes. Add the carrots, cabbage and garlic. Continue to sauté for 8-10 minutes, stirring often, until the veggies are getting some nice brown colour. Stir in the cinnamon, cumin curry and allspice and sauté for another minute.  Add the chicken broth, salt and water, and the juice of the lime. Simmer covered for about 20 minutes. Add the chicken and the lentils and simmer another 8 minutes, until everything is nice and soft and fragrant.
  Serve hot!

**To cook lentils on their own, rinse 1 cup of dried lentils, pick out any debris or stones. Place in a pot with 3 cups of water. Bring to a boil and reduce right away to a simmer. DO NOT ADD SALT until they are cooked! Cook  for about 20 minutes or until they are just softened. Drain any extra liquid, and use as desired.

Friday, 19 April 2013

Crock Pot Roast Beef


I love my crock pots. I have two that I use quite often for all kinds of things, and I love how easy they make dinners on days that I know I will be pressed for time. This roast technique takes a wee bit of prep time, but it is worth it for the flavour at the end.  The roast I purchased was a sirloin tip, which worked really well with this technique. Top or bottom round would work well too for this long slow cooking method. It is perfect for the cheaper cuts, which helps with the weekly budget!


Crock Pot Roast Beef

3 large carrots, peeled and chopped
2 onions, peeled and chopped
3 parsnips, peeled and chopped
4 potatoes, chopped
4 cloves garlic, halved
1 roast of beef, thawed, approx 3-4 lbs
2 tbsp coconut oil
Salt and pepper to taste
2 cups beef bone broth

Fill the bottom of your crock pot with the chopped vegetables.
Browning the roast
Melt the coconut oil in a lg cast iron pan over medium high heat. Season roast with salt and pepper, and sear it on all sides in the hot pan, about 2-3 minutes per side.  
Place in crock pot on top of the vegetables.
Deglazing the pan with frozen
beef bone broth

Deglaze your pan with the beef bone broth, (mine was frozen as you can see in the picture) cooking over medium high heat while scraping all of the browned bits from the bottom of the pan.
As soon as it starts to boil, pour the pan contents over the roast and veggies in the crock pot, cover, and cook on low for 8-10 hours, or on high for 4-6 hours.
Ready to eat!
Enjoy the smell when you come thru the door after your long day at work! Toss a quick green salad and dinner is served!

Wednesday, 10 April 2013

Beef And Spinach Soup With Thyme

I am always looking for ways to use up leftovers, and they often end up in a soup of some kind.  With a leftover protein and some veggies, plus a freezer full of bone broth, a nourishing soup is easy to throw together quickly.

Beef And Spinach Soup With Thyme
1 small- ish red onion, diced, mine yielded about ¾ cup
1 ½ cups chopped mushrooms
3 stalks celery
2 cloves garlic
1 1/2 cups leftover cooked grass-fed beef, shredded or sliced in thin bite sized pieces
4 cups beef bone broth 
Bundle of thyme **(see below for pictures) or 1 tsp dried
3 cups baby spinach
Salt and pepper to taste

Sauté the onion, mushrooms, celery and garlic over medium high heat, stirring often until the veggies start to brown and the bottom of the pot looks like this: 


Add broth, thyme bundle and beef. Bring to a boil, reduce heat, cover and simmer for 20 minutes or until the veggies are all tender.
Turn off heat, remove the thyme bundle, add the spinach and stir until it wilts. Season with salt and pepper and serve hot.


Bundle the thyme with butchers twine


if you cover your thyme in the garden
 you can pick it fresh all winter :)

Monday, 1 April 2013

Creamy Broccoli Soup


I was hoping, being as it is the beginning of April, to start a bunch of healthy salad posts for spring. But alas, winter seems like it is staying for at least a few more days, so you get a soup instead!

This soup goes together quickly, taking about ½ hr start to finish. (if your broth is frozen like mine generally is, add 10 minutes) It is filling enough for a hearty lunch or dinner, and easily converted to become vegetarian if so desired.  So enjoy the soup, and hope, along with me,  for some warm spring weather soon!

Creamy Broccoli Soup

1 organic onion chopped
2 cloves organic garlic roughly chopped
2 tbsp coconut oil
2 cups chopped organic potatoes
4 cups chicken bone broth (or sub a good quality veggie broth for a vegetarian soup)
4 cups chopped organic raw broccoli (peel the stems if necessary)

Optional:  sour cream or thick yogurt  to swirl on top for serving

Sauté the onion and garlic in the coconut oil over medium high heat until the onion starts to get a bit of colour to it. Add the potatoes, and sauté for about 5-6 minutes. Add broth (mine was frozen, so I left it cooking on medium high, covered for an extra 10 minutes for it to thaw the broth) Bring to a boil, and simmer, covered for 10 minutes. Add broccoli, cover and simmer until the veggies are all cooked thru, approx 5-6 minutes.   Purée the  soup right in pot with an immersion blender, or in batches in your blender and return to the pot. (If you use your blender, take care, as the hot soup can spurt and burn!!) 

Season to taste with salt and pepper. Serve hot with a swirl of sour cream if desired.

Wednesday, 20 March 2013

Bone Broth 101, My Method!

You will notice that I refer to Bone Broth in a lot of my recipes.  Just what is bone broth, you ask? Can’t you just substitute a store bought tetra pack of chicken or beef broth, you ask? What about those fancy little foil wrapped cubes? If you are a purist like me, the answer is unequivocally no!! Even in the best organic boxes of “stock” you will find undesirable ingredients. (I am still trying to figure out why they need to add “natural beef flavour” and “caramel colour” to something so simple, and that is just the tip of the iceberg when it comes to the additives I have read on labels!) Not to mention, homemade broth just tastes better. Homemade chicken bone broth is the go to remedy in our house when anyone is feeling a little under the weather.  And it really is not hard to make. I have made my own broth for years, although the way I make it has changed in the last few years. I do still keep baggies in my freezer for the leftover poultry bones, and organic veggie peelings and trimmings (garlic, onion, celery, carrot etc.), When the baggies are full, I toss them in the crockpot. Because, hey, the only thing better than making your own nourishing broth is making it for FREE, out of what would normally be tossed in the trash!  (I should mention here, when we shop at Fenwood Farms, they offer a bag of chicken stock bones for free with every purchase) I usually buy my beef soup bones at Oakridge Acres, one package usually costs me around 3$. Two packages usually net me about 12 cups of bone broth.

Now that beef is back in our diet, beef bone broth has become a favourite of mine. I use it in soups, stews, for de-glazing pans, as a nourishing hot beverage, etc.  The process, however, changed after reading Nourishing Traditions. Bone broth contains an amazing amount of trace minerals, calcium and magnesium just to name a few. (read more about the many awesome benefits HERE) Like I said, I am a purist though, and prefer to keep my stock simple, using just the grass fed beef soup bones, and not the vegetables like some use. Completely a matter of choice though! (I do sometimes add the veggies to my chicken broth, but it does change the flavour) To make chicken bone broth, simply substitute chicken bones for the beef bones, the method is essentially the same.

My Method:

For this you will need a large slow cooker, and depending on the size, a package or two of beef soup bones and some raw organic apple cider vinegar (this helps release the nutrients from the bones). I usually try and have my large crock pot about half full of bones.
  • Place bones into crock pot 
  • Top up your crock pot with water  
  • Add a few TBSP of a raw organic apple cider vinegar 
  • Turn on to low, cover and leave it for at least 24 hours (up to 30 ish max)
  • At the 8 or 9 hour mark, if the bones are particularly meaty, I will pull them out, remove the meaty parts, and throw the bones back into the crock pot to continue cooking. This meat can then be used as part of another meal, making the broth even more frugal 
  • At the end of the cooking time, remove the larger bones, and strain the broth thru a fine mesh strainer to remove any small bone fragments  
  • Chill the stock until it gels and the fat solidifies  
  • Remove the fat layer from the top  
  • Use the broth either right away, or freeze in your choice of serving sizes. I like freezing about 2 cups in the medium plastic freezer bags, I label them with a magic marker so I can tell which kind of stock it is. You can use mason jars**, empty yogurt containers, or whatever you wish that will freeze well.  (**if using mason jars be sure to leave room in your jar, as the broth will expand when freezing, and can potentially break the jar)
I like to keep a good supply of bone broth on hand in the freezer, so it is always ready when you need it. 

Ready to go!
After 24 hours
Strain before cooling
Meat pulled off after
8 hrs cooking
skim the fat before freezing
pour cooled broth into baggies
to freeze.