This blog is all about Food. Real Food. Food that Nourishes, Heart and Soul.

Real Ingredients, Organic and Locally sourced whenever and where ever possible, shared with love.

No packages, no ingredients that are impossible to pronounce.

Real, honest food, from my kitchen to yours. Enjoy!

Showing posts with label Coconut Milk. Show all posts

Saturday, 15 July 2017

Espresso Panna Cotta

Coconut Milk version,
 using a 1/2 cup Mason Jar
pan·na cot·ta
ˌpanə ˈkōdə,ˌpanə ˈkädə
noun
  1. -"a cold Italian custard, often served with fruit sauce or caramel syrup".

Panna Cotta translates from Italian to mean "cooked cream", and has become my favourite summer dessert this year. 
Elegant in its presentation, and simplistic in its preparation, its a win win dessert that doesn't even heat up your kitchen! It does require some time to set properly, so plan accordingly if you want it ready for dessert!

"Richer" version, using a 1 cup  Ramekin, filled 3/4 full
I have made multiple versions of this espresso version this summer, and decided to post my three favourite variations, as they all shine in their own way, and deserve a wee bit of the spotlight, depending on your tastes and dietary needs!
The lighter version is great when you want a dessert that is a bit less substantial, but every bit as lovely and tasty as the other versions. The "richer" version has a much creamier texture and velvety smooth mouth-feel that ups the ante a notch or two, making it just that wee bit more decadent. In the dairy free version (created just for my foodie friend Ken!) the coconut milk marries so well with the coffee flavour, it just might be my favourite... if I was ever forced to choose just one...  

Although I haven't tried it yet, you can also make Panna Cotta with fruit juice...picture a lovely mango Panna Cotta topped with a blackberry thyme coulis....I can see many more versions being created before summer is over!

This recipe does make quite a few Panna Cotta's, depending upon the size of container you choose. You will end up with approx 6 cups of liquid Panna Cotta, so choose your serving sizes accordingly. (feel free to cut the recipe in half, but the extras are a lovely indulgence to keep in the fridge ;) ..... 

When I am making it for company, I will choose several straight sided containers that will un-mold well (short mason jars, ramekins etc) and then pour the rest into various mason jars with lids, to be eaten straight out of the vessel as a treat in our lunches.  

A few quick notes on my choice of ingredients:
  • For the espresso flavour, I like to use Mount Hagen Organic  Instant Coffee. They have a regular and decaf version, that gives a seriously impressive coffee flavour to this dessert. 
  • Coconut sugar is almost always my sweetener of choice, for its lower glycemic rating, and its caramel like flavour. The darker colour will affect the end colour of your Panna Cotta, so if you were making a plain version of this without the coffee granules, you may want to substitute with an organic white sugar or honey to eliminate the caramel colour that this will give. So, feel free to substitute with your sweetener of choice. (I am thinking maple syrup may work well with the espresso flavour as well...hmmmm....)
Enough of my rambling, lets get to the recipe!! 

Espresso Panna Cotta, 3 Ways: 

Lighter Version
Full Fat “Richer” Version
Dairy Free Version
6 cups milk, your choice of lower or full fat
4 cups full fat milk PLUS
2 cups , full fat sour cream
3 cans (400ml)  full fat coconut milk
2 ½ TBSP gelatin powder
2  TBSP gelatin powder
½ cup Coconut sugar
½ cup Coconut sugar
1/3 cup Coconut sugar
3 TBSP Instant Coffee Granules

Method: (for all three versions)
In a small saucepan, measure out ½ cup of the milk, and sprinkle the gelatin powder over the top. Let rest for approx 8-10 minutes.

While the gelatin is sitting, measure the rest of the ingredients into a large blender and whiz quickly until well combined. Set aside.

When the gelatin/milk mixture has finished resting, turn the heat on medium low and heat gently, stirring often, until the gelatin is dissolved, approx 5-8 minutes. Do not boil!

When dissolved, remove from heat, and, with the blender running on low speed, carefully remove cap from blender lid,  and pour the hot gelatin mixture into the blender with the rest of the ingredients. Replace lid and turn on high to blend for 30 seconds.

Pour into desired serving dishes*** and chill for a minimum of 2 hrs or until fully set.
Round jars like this will not un-mold, but...will fit nicely in your lunch bag :)

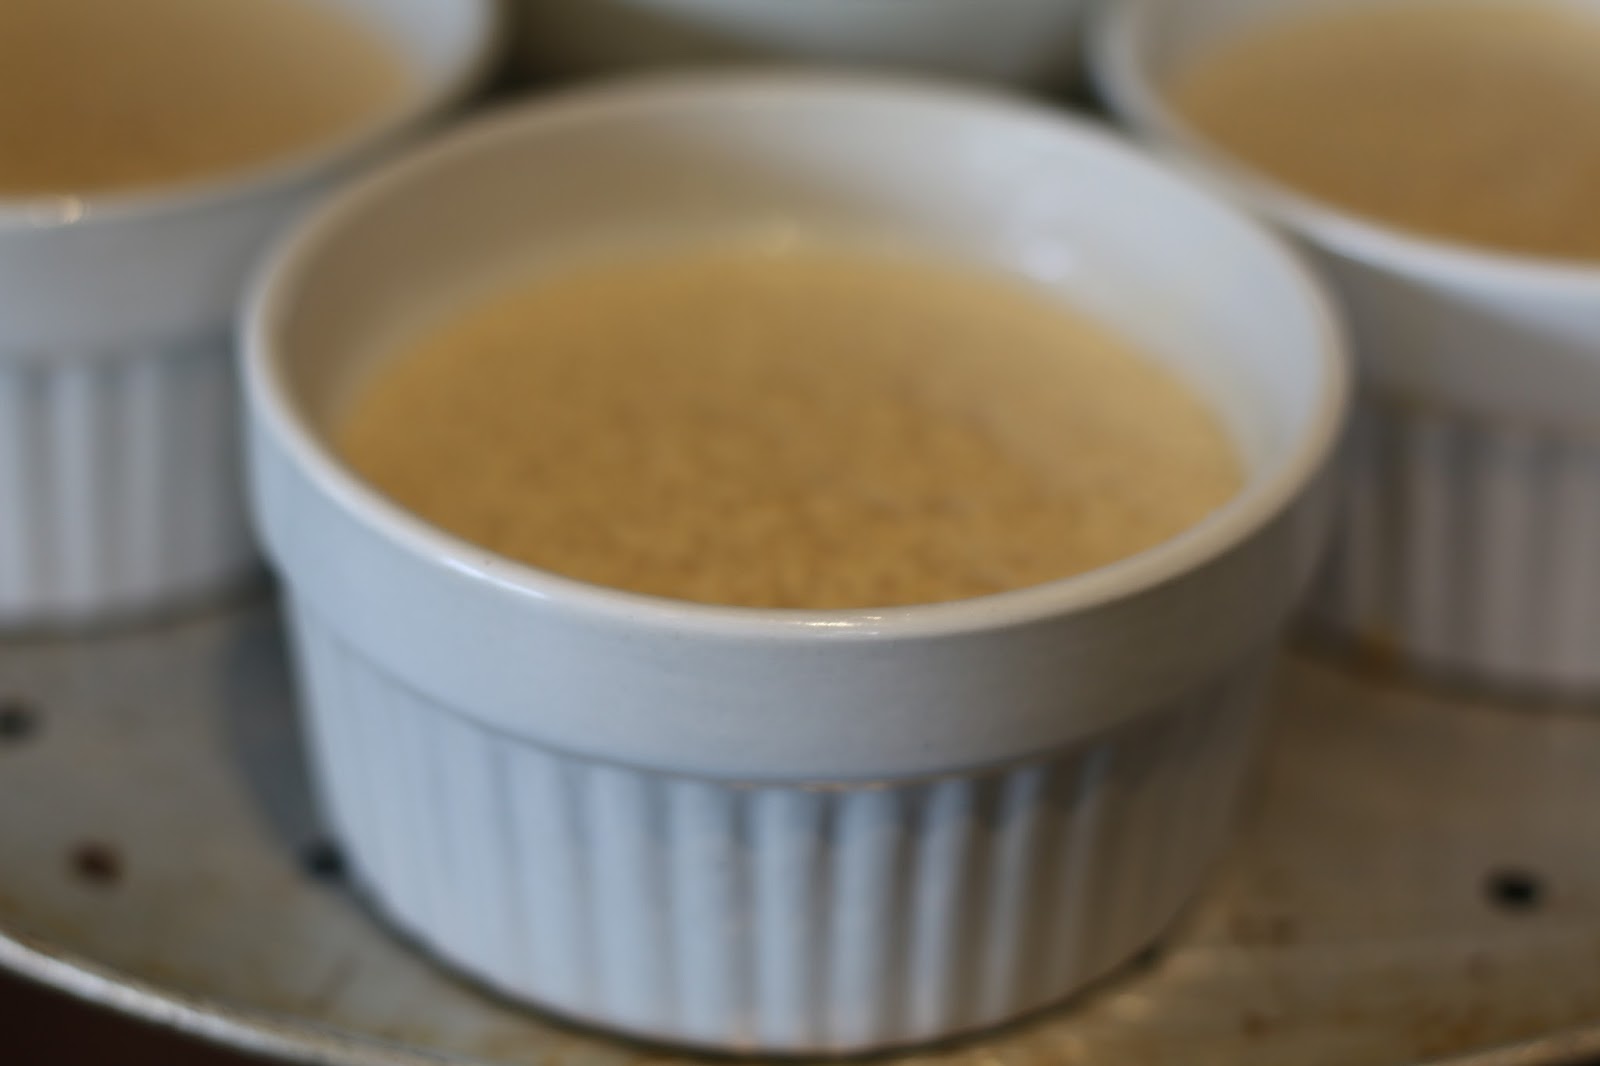
If your ramekins have a small lip as
mine do, only fill to the bottom of this lip
or it will not come out easily. 

***Serving options
A: To eat as is:
pour into ½ or 1 cup mason jars, or other small vessels, and chill as above.
B: To un-mold:
Lightly grease small straight sided ramekins or other like vessels.
SIDES MUST BE STRAIGHT (or flare gently outwards) FOR THIS TO WORK!!
Pour into ramekins and chill as above. To Plate: Carefully run a knife around the edge of the Panna Cotta,  making sure you get right to the bottom of your vessel. Take care to be as smooth and even around the edge as possible.  (if doing this for the first time to serve to company, you may want to practice with a few to get the hang of it!) Carefully turn ramekin upside down over serving plate and using the knife carefully dislodge the Panna Cotta onto the plate. 
Garnish as desired.
(chocolate Sauce recipe pictured here can be found HERE)


Sunday, 8 January 2017

Butter Chicken

We love curry in our house, and butter chicken is definitely a favourite, and not at all difficult to whip up for a weeknight dinner. (if you add all the other selections pictured on the plate, you're into a marathon cooking session with masses of dirty dishes, spatters of yellow yumminess all over your kitchen and a very happy belly at the end!) but, I am only sharing the butter chicken recipe at the moment, and it stands alone very well.

I used chicken thighs, as I feel they have more flavour, but breasts could easily be substituted (2 large ones would probably suffice). Just to note, I have also made this with leftover rotisserie or roasted chicken, deboned and chopped up, and added at the simmering stage below. Just start the recipe where you saute the onions, and you're good to go!

With any recipe, a bit of pre-prep is always a good idea, but I find with curries, there are so many spices for the layering of all that yummy flavour, having them measured out and ready to add helps alot! If you like a spicier dish, feel free to increase the cayenne! As it stands this recipe has a nice mild heat with a ton of flavour.

I will include the links at the bottom for the other recipes if you are into marathon- kitchen-destroying-but-oh-so-much-fun cooking sessions , and I promise I will also add a link when I finally get my grain free naan recipe posted as well.


Butter Chicken

8-10 skinless boneless chicken thighs
2 tbsp butter 

4 tbsp of butter, divided into 2 tbsp chunks(yes...MORE butter :) )
4 smallish cooking onions, peeled and chopped (a generous cup ish)
3 tsp of garam masala
1 tsp of chili powder
1 tsp of cumin
½ tsp cinnamon 
½ tsp of cayenne pepper (or more to taste)
1 Tbsp. of grated ginger (use a kitchen rasp or fine grater)
3 garlic cloves, minced
S&p to taste

796 ml canned diced tomatoes
½ small can of tomato paste

1/2 can full fat coconut milk( approx ¾ cup)

Method:
Chop into chunks and then saute chicken thighs in 2 tbsp butter in a large cast iron pan until browned on all sides. I gave a quick grind of sea salt and black pepper while the chicken was browning. 
Remove from pan and set aside. Depending upon the size of your pan, you may need to do this in batches. If your pan is crowded they will steam rather than brown. 

In the same pan, Sauté onions in 2 tbsp butter over medium heat until slightly softening and just starting to brown, approx 5 min. 
Add spices, garlic and ginger, sauté for 2-3 more minutes. 
the amount of spices included
in this recipe is CRAZY, but
oh so yummy!!
Add the tomatoes and tomato paste, stirring well to combine. 
Add the chicken back to the pan, bring to a quick boil, and then reduce to a simmer for approx 15 minutes. (if you are serving rice, this is a good time to put on a nice pot of basmati rice to accompany your butter chicken!)
Stir in the coconut milk and last 2 Tbsp. of butter and 
additional salt and pepper to taste if needed. 
sorry for the steamy picture but the 
saag paneer was cooking on the 
front burner and tried to take over 
the shot!

Warm thru and serve with hot basmati rice or naan.


Other recipe links:

This recipe includes both a recipe for the paneer, and the recipe for the delicious saag paneer pictured on the plate above. I used fresh spinach instead of the frozen suggested in the recipe, just adding it to the pan in batches and tossing with tongs as it cooks down.
http://selfreliantschool.com/make-worlds-easiest-cheese-plus-delicious-indian-recipe/

These lovely little samosa patties were divine, although we tweaked them as we all felt they needed a deeper flavour. I added a 1/2 tsp each of garam masala and coriander, and 1/4 tsp of cumin to the curry powder, and added an egg as it seemed to need some glue to form the patties.
http://theprettybee.com/2014/03/spiced-samosa-patties.html

This raita is a wonderful palate cleanser and cooler between bites of different curry dishes.
http://www.marthastewart.com/851902/cucumber-raita


prepped ingredients ready to add to the pan!


Saturday, 25 July 2015

Easy Dairy Free Ice Cream

This ice cream is so many things all at once, I don't know where to start! It is refined-sugar-free, dairy-free, gluten-free, its easy, it stores wonderfully in your freezer, and, most importantly, it tastes divine. Wait... did I mention it's really easy?

With three simple ingredients and a food processor, you have everything you need to make this lovely summer treat! Customize the fruit to your taste buds! We have used frozen strawberries and oranges as well as the mango version below, but any type of frozen fruit would be delish!

(Yes, I know, the picture kind of looks like cupcakes...but it freezes beautifully in little parchment paper liners. When frozen, simply take it out of the pan and freeze in an airtight container in the freezer, or even a zip-lock freezer bag until you want to eat it. Then it is ready, in a perfect serving sized portion!

Chilling the coconut milk prior to starting this recipe is VERY important. (I actually keep a spare can in the fridge for just such occasions!). Between whipped coconut cream and this recipe, I have one ready whenever I need it!


Easy Dairy Free Ice Cream

1 can coconut milk, chilled overnight (very important, do not skip this step!)
3 cups frozen fruit
2 tbsp maple syrup or raw honey

Open your can of coconut milk upside down. 

Drain off liquid and set aside. 
Place solid coconut milk into the bowl of your food processor. Add frozen fruit; attach lid and pulse to start combining. 
Add maple syrup or honey while pulsing.
 If necessary, add the drained liquid from your can 1 tbsp at a time to loosen the ice cream enough to blend. You may need it all, you may not. (Mango seems to require the whole amount; it takes more to blend because they are very dense when frozen. Softer fruit like cherries, raspberries or blueberries will blend easier. )

You may need to stop the processor and scrape down the sides if your fruit is dense like the frozen mango's were. The more you process, the more the fruit will melt, do not over process or you will loose that necessary frozen texture.
As soon as it is smooth, turn off the food processor and scoop into desired containers to freeze.
Freeze for 2-3 hours minimum.  Store in airtight containers in freezer.  Remove from freezer and let stand 10-15 minutes before serving to soften slightly. 
We found this set of 4 little melamine bowls at one of the PC Superstores, and they work wonderfully  for keeping a batch of ice cream ready to go in the freezer! We bought two sets, which are perfect for the 8ish servings that this recipe makes! Pictured here is a strawberry version!


Wednesday, 29 January 2014

Red Curry Chicken with Butternut Squash Noodles

You sometimes have to be really adaptable when you cook. Cooking, like life, sometimes just doesn't go as planned. Ingredients mysteriously disappear, or spoil seemingly overnight. Plans change at the last minute and the meal you thought you had an hour to prepare needs to be on the table in 30 minutes flat, or you find a key ingredient that you planned to pick up after work is suddenly not available. Take tonight's dinner for instance. I had some skinless boneless thighs from a new poultry supplier at work called Blue Goose, (amazing company by the way, worth checking out, the chicken was awesome!) I was intending to use these lovely chicken thighs in a green chicken curry, to top some zucchini noodles made with my spiral slicer. But, there were no lovely little zucchinis gracing the shelves at work today in our produce department. I ran thru a bunch of alternatives, but had no inspiration until I walked by the display of beautiful organic butternut squash. If you can spiral slice a green summer squash, why not an orange winter one?? The texture seemed like it would go, but it added a new dilemma. The green curry that I had originally planned just didn't seem to match this squash, flavour wise, so my whole entire recipe had to change on the fly. The green curry became red, and the creamy coconut sauce with fresh basil suddenly became a wonderfully spicy and fresh coconut and tomato sauce. I threw in some baby organic spinach on a last minute whim, and this amazing dish was born. It is guaranteed to be a repeat, it was absolutely delicious. 
I guess the moral of the story is, don't stress it, and go with the flow. Like life, cooking is much better when you can relax and enjoy it. Be prepared for a little bit of improv, and you just might be pleasantly surprised!

Butternut squash noodles are the perfect base for a recipe like this. They added just a touch of sweetness and held up incredibly well, as well as being seriously easy to prepare. I can’t wait to see what else I can do with them!  I apologize for the lack of pictures with this post, but I promise to come back and add a picture the next time I spiral a butternut squash.


Red Curry Chicken with Butternut Squash Noodles


12 Skinless Boneless Organic Chicken Thighs (try Blue Goose)
Salt and pepper to taste
1 tbsp coconut oil
1 tbsp butter (or sub another tbsp coconut oil)
½ of a 400 ml can full fat coconut milk (shake to mix)
1 large red onion, cut in a fairly large dice.
2-4 tsp red curry paste (I use Thai Kitchen)
½ cup water
1 796 ml can diced organic tomatoes
4 cups baby spinach, lightly packed
Salt and pepper to taste

Squash Noodles:
1 medium organic butternut squash
1 tbsp coconut oil, melted
Salt to taste.

To prepare the squash noodles:
Cut the bulb end off the squash (the end that contains the seeds) and reserve for another use if desired. Cut the stem end off, and with a sharp knife or vegetable peeler remove all of the skin. Slice in half lengthwise, and cut into noodles on the spiral slicer, or with a mandolin.
Spread cut noodles out on a large pan with sides, like a jelly roll pan.  Drizzle with the melted coconut oil, sprinkle with salt and toss lightly to coat.
Preheat oven to 400F and set noodles aside. (do not cook yet!!)

To prepare the chicken:
In a large cast iron pan, heat the butter and coconut oil till bubbly over medium high heat. Add the chicken, Season with salt and pepper, and cook, in batches if necessary, until just nicely starting to brown, turning pieces as they cook. (They do not need to be cooked right thru at this point, almost-done is fine because they will finish cooking in the sauce at the end, and will only hang around for a wee bit before going back in.) Turn the pan down to low and leave it on the burner.  Remove the chicken pieces to a cutting board when nicely browned, and carefully but quickly cut into bite sized chunks. Place in a bowl to catch any juices, and set aside for a minute.
Your oven should be preheated by now, so throw in the squash noodles, and put a timer on for 9 minutes. If they finish before the next step is complete, just turn off the oven and leave them in, they should be done around close to the same time.
Turn your pan back up to medium high, add the diced onion, and the red curry paste. Sauté until the onion is starting to soften and brown slightly, 3-4 minutes. Add the can of diced tomatoes and the water, and stir in, scraping all the browned bits off the bottom of the pan as you go. Add the coconut milk, stir well, and add in the chunks of chicken and any accumulated juices. Stir well, bring to a boil and simmer until the chicken is cooked thru and the sauce has reduced and thickened slightly, 5-6 minutes.  Add the spinach and stir in until it is wilty. Check the seasoning and add salt and pepper if necessary.

Remove the noodles from the oven, place in individual bowls and top with chicken curry mixture. It should serve 5 or 6 hungry people!

Monday, 6 January 2014

Grain Free Pumpkin Goat Mini Cheesecakes With Maple Coconut Cream

I made these little cheesecakes to welcome a friend home from China. All of the goat cheesecake recipes I found also contained cream cheese, which I could not use do to our friends issues with lactose, so I came up with my own recipe using just goat cheese. I was worried the chevre flavour would be too strong, but, although it did have more “tang” than regular cheesecake, the flavours of the pumpkin and spices complimented it nicely. The mason jars were a pretty touch, the layers looked lovely thru the glass!

Grain Free Pumpkin Goat Mini Cheesecakes With Maple Coconut Cream

Crust:
½ cup pecans
¼ cup macadamia nuts
¼ cup coconut sugar
1 cup almond flour/meal
Pinch of salt
2 tbsp coconut oil
Filling:
2 tubs of Wholesome goat Fresh Chevre (225g)
1 cup cooked pureed pumpkin
1 tsp cinnamon
½ tsp fresh grated nutmeg
1/8 tsp allspice
¼ tsp cloves
1/2 tsp ginger
3 eggs
1/3 cup maple syrup
Pinch of salt
Topping:
1 can full fat coconut milk, chilled at least 8 hrs or overnight
1 tbsp maple sugar
4 tbsp chopped toasted pecans for garnish if desired

Preheat oven to 350F

For Crust:

In a food processor, chop the pecans and macadamia nuts until they make a coarse meal. Add the coconut sugar, salt, almond meal and coconut oil and pulse to combine.
Divide mixture between 8 ramekins or 1 cup mason jars, pack firmly and set aside.


Filling:
I used the bottom of a small
spice jar to pack the crust.
In a stand mixer, cream the goat cheese until creamy.  Add the pumpkin puree and mix till well combined. Add eggs one at a time, mixing between each addition. Add in the maple syrup and spices, mixing  until combined.
Divide evenly between the ramekins or jars (wipe drips from sides of glass jars if using)


Place filled jars in a deep baking dish, and place in preheated oven. Fill the baking pan with very hot water coming at least ½ way up the sides of your ramekins or jars.
Bake for 30-40 minutes or until the cheesecakes are set and slightly puffy in the center. (the cooking time may depend on the container you choose to bake in. A wider shorter ramekin may cook in slightly less time)
Carefully remove pan from oven, and remove jars from water, setting on a wire rack to cool slightly. Refrigerate until chilled thru, a few hours at least, or overnight.
Use a cast iron pan to toast
the pecans, they only take a few
minutes. Remove from pan
when they start to become
fragrant and slightly brown.

Topping:
Just prior to serving, take chilled coconut milk from fridge, and turn can upside down. Using a can opener, remove top of can and pour off the liquid part of the coconut milk, reserving for another use if desired.
Scoop the solid part out of the can and whip with the maple sugar in a stand mixer for approx 5 minutes or until it is a nice, smooth and creamy consistency similar to whipped cream.
Spoon  desired amount onto chilled cheesecakes and top with toasted pecans and a small drizzle of maple syrup if desired.

Before....

And After... :)


Thursday, 4 July 2013

Coconut Turkey Curry

This was tonight’s dinner. I was craving some kind of curry. Not the crazy-burn-the-inside-of-your-mouth-for-days kind of curry, but a full flavoured one with just a bit of heat. This could have used a bit more heat, in hind-site, but it would be a great dish to serve to those who swear they don’t like curry. The word curry congers up so many negative  ideas for so many people, which is a very unfair assessment. Curries are so complex and variable in colour, heat and flavour, you really can't paint them all with the same brush. This is a nice mild one, flavoured predominantly with garam masala and coriander. Feel free to add some cayenne if you want to spice it up a bit, I will be trying that next time for sure.
To make this a vegetarian dish, I think it would be great if you omit the turkey, and add 3-4 cups of cooked organic chickpeas after sauteing the onions, and then proceed with the recipe.

Coconut Turkey Curry

3 Tbsp butter, divided
1 T coconut oil
2 cups organic raw turkey thighs, cut into bite sized chunks
1 ½ cup diced onion (1 medium ish sized)
1 tsp ground coriander
2 tsp paprika
2 ½ tsp garam masala
1 tsp grated fresh ginger
1 tsp cinnamon
1 496 ml can of diced tomatoes (I like Eden)
2 Tbsp coconut sugar
1 400ml can full fat organic coconut milk
Salt to taste

Heat 1 tbsp butter and the coconut oil in a deep cast iron or other sauté pan over medium high heat. Sauté the turkey chunks until they are just starting to brown, approx 4-5 minutes (sauté in batches if necessary). Remove from pan to a heat safe plate, and set aside.
Add remaining 2 tbsp butter to pan, and sauté the onion until it starts to soften and brown, about 5 minutes. Add all of the spices to the pan and sauté with the onion for another minute or so, until they become fragrant.
Add the turkey back to the pan and mix well. Add the can of diced tomatoes, stir in and bring to a boil. Reduce heat and simmer for 15 minutes.
Add coconut sugar, coconut milk and then salt to taste, and simmer for another 10 minutes until the sauce thickens up slightly.

Serve over riced, mashed or roasted cauliflower if you are grain free, or basmati rice for a more traditional curry.