This blog is all about Food. Real Food. Food that Nourishes, Heart and Soul.

Real Ingredients, Organic and Locally sourced whenever and where ever possible, shared with love.

No packages, no ingredients that are impossible to pronounce.

Real, honest food, from my kitchen to yours. Enjoy!

Wednesday, 25 March 2015

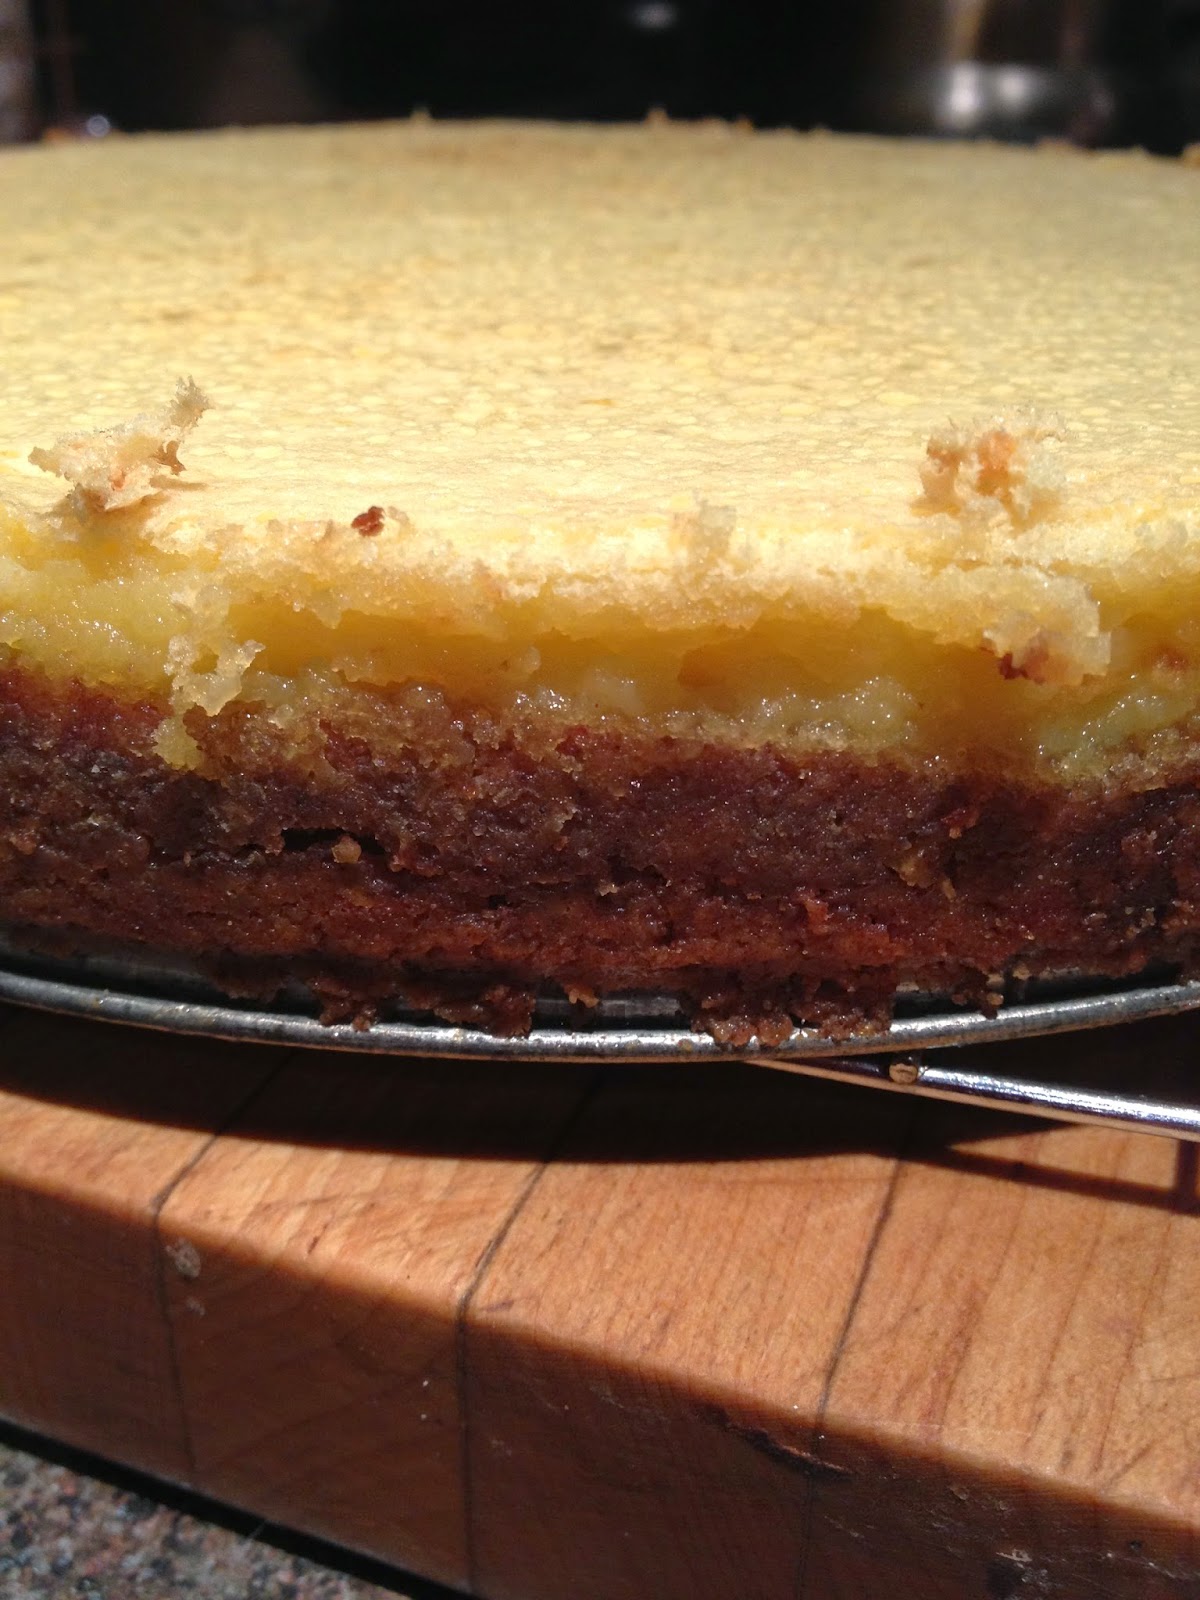
Grain-Free Lemon Tart


It all started with this beautiful bag of organic lemons. They called to me on my trip the grocery store this morning, and they were so bright and cheerful, well... I just had to take them home with me!

They sat on the counter all afternoon, smiling at me with their dazzling yellowness, while lemon recipes swirled thru my brain. I finally settled on a lemon tart, and did a quick search on Pinterest.  My search came up with a ton of recipes, but none of them matched the ingredients I had to work with, and I was REALLY not wanting to make another trip to the grocery store (who knows what else would have called to me!!) So, there the lemons sat, looking like a bright little spot of sunshine on my counter, while my own creation worked itself out in my head. I love it when a recipe works the first time out of the gate. It is bright and lemony and tart, exactly what I was aiming for.  I kept the sweetener to a minimum, using dates as the sweetener for the base, and honey to sweeten the creamy lemon topping. I wanted the tart lemon flavor to shine, and shine it does! The crust is soft, and not really crumbly, it holds its own well against the smooth creamy filling on top. If you love lemon, you have to make these!


Grain Free Lemon Tart

Crust:
8 dates
1 cup shredded coconut (unsweetened!!)
1 ½ cup pecans
4 Tbsp arrowroot flour
½ tsp salt
2 Tbsp melted coconut oil
1 egg

Filling:
5 eggs
½ cup liquid honey
2 Tbsp arrowroot flour
1/3 cup almond flour(finely ground, I like JK Gourmet)
Zest from 2 lemons (organic!!!)
¾ cup fresh squeezed lemon juice (6ish lemons?)
½ tsp salt

Preheat oven to 350F

Whiz dates in food processor until they are chopped and come together in a ball. 
Add the coconut, arrowroot, pecans and salt. Whiz until evenly ground, like coarse sand. Add the egg and coconut oil, and process until it comes together in a wet ball.
Press evenly into springform pan , and bake for 10 minutes in the center of the oven.  Remove from oven and set aside till needed. 

While it is baking, measure filling ingredients into a medium mixing bowl. Whiz with a hand blender until well blended. Pour into pre-baked crust and bake again for 20 -25 minutes.
Remove from oven when the filling is set and just starting to ever so slightly brown.

Let stand for 10-15 minutes on a wire rack to cool. Run a sharp knife around the edge of the pan and remove the outside of the springform pan. Cool to room temp before cutting. 
Store leftovers in the fridge.


Saturday, 21 March 2015

Grain Free Chocolate Walnut Donuts

These little lovelies are a perfect treat when you want comfort food without the guilt (well, not too much guilt…)  They remind me of one of my favourite donuts from my old wheat eating days, without the gut issues and sugar crash!   I find them best the first day; they were a bit dry on the second day. Like most grain free baked goods, they do freeze well, so I would recommend freezing for storage, if they hang around long enough!

Grain Free Chocolate Walnut Donuts

4 eggs
1/3 cup melted coconut oil
½ cup sour cream
1 Tbsp apple cider vinegar
1/2 cup coconut flour
¼ cup coconut sugar
1/3 cup arrowroot starch
¼ cup chick pea flour
1/3 cup cocoa powder
1 tsp baking soda
1 tsp salt
___________
Add-in:
¾ cup chopped walnuts (no big pieces! )
-------------------
Topping:
¼ cup chopped walnuts
½ cup chocolate chips (I like Enjoy Life)
2 tsp coconut oil

Preheat oven to 375F.

Grease donut pan with a rubber basting brush or piece of paper towel and butter, ensuring you cover the entire inside surface. Set aside.

Mix all ingredients up to the add-ins together in an 8 cup mixing bowl with an immersion blender. Scrape sides of bowl when needed and mix until well blended. With a wooden spoon or rubber spatula, fold in the first amount of chopped walnuts and stir until well mixed. 

Scrape batter into a medium sized zip-top baggie, squeeze out the excess air and zip closed. Snip the end (alternatively, if you have an icing bag and a large tip, use that)
 and pipe into greased donut pans, filling each cavity about half way. 

Repeat with second pan or bake for approx 12 minutes, remove from oven, tip donuts from pan onto a wire rack. Let the pan cool before refilling to bake second batch. (This amount should make 24 small donuts; adjust your cooking time if your pans are larger.) 

While your donuts are baking, in a double boiler or a heat safe bowl set over a pot of just simmering hot water, (don’t let the water touch the bottom of the bowl!) gently melt the chocolate chips and the coconut oil together. Stir until smooth, and leave over barely simmering water until needed. 

When donuts are all cooked and cooled, drizzle with the melted chocolate, and then sprinkle with the ¼ cup of chopped walnuts. Let stand until chocolate drizzle firms up. (Refrigerate for 15 min if you want to serve them quickly!) 

Best eaten the same day, they tend to be a bit dry on the second day. Keep leftovers in fridge for 3-4 days or freeze. 

Sunday, 22 February 2015

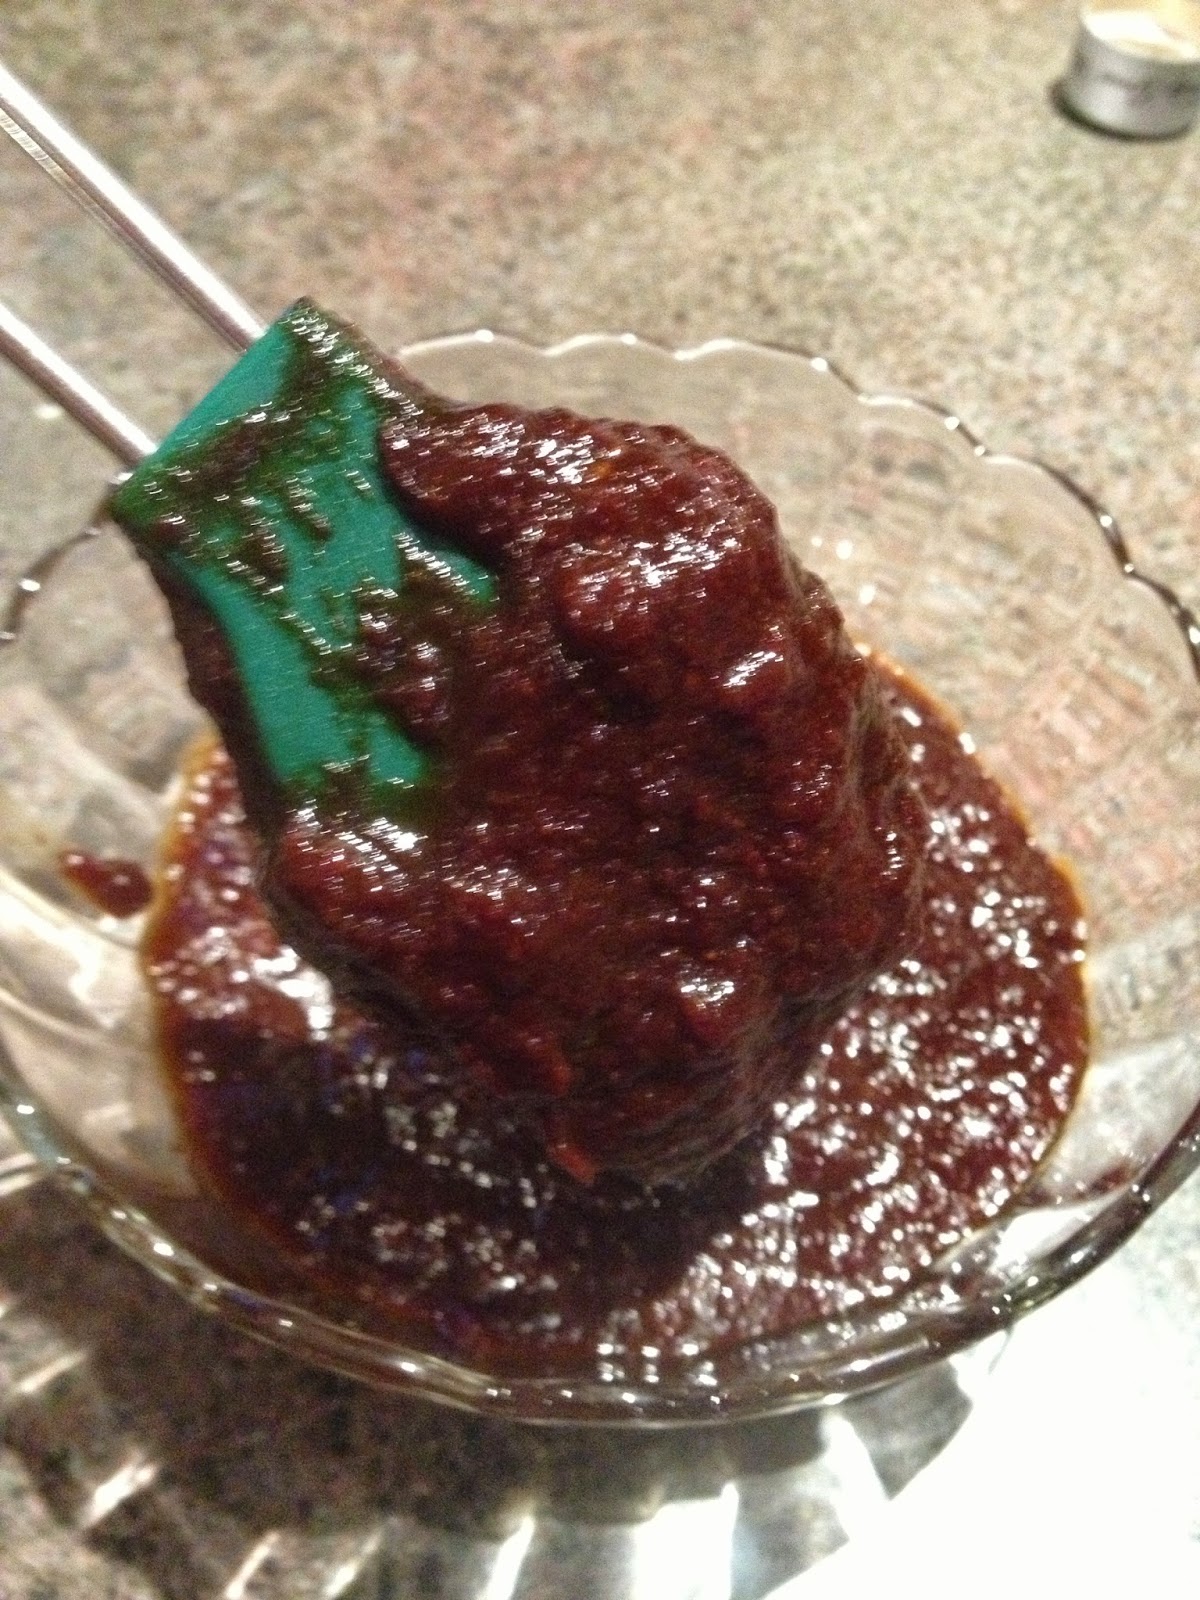
Quick Maple Chipotle BBQ Sauce

This sauce goes together quickly and has a nice thick consistency that goes amazingly well on pork ribs (and probably anything else that could use a thick slather of sauce!) Play with the chipotle powder and make it as hot (or not) as you like. 


Quick Maple Chipotle BBQ Sauce

1 med onion, chopped
3 cloves garlic minced
2 tbsp coconut oil or butter 
1 can tomato paste (156ml)
2/3 cup apple cider vinegar
2/3 c maple syrup
4 T molasses
1 tsp salt
½ tsp chipotle pepper powder (increase or decrease by ¼ tsp depending on your love of heat!)


Sauté onion over med high heat until starting to soften and brown, add minced garlic cloves, sauté 1 min more. Add the rest of the ingredients. Stir well, bring to a boil then reduce heat to med low. Simmer for 15-20 min. puree with hand blender until smooth. Use right away, or Keep in fridge for up to a week.


Saturday, 7 February 2015

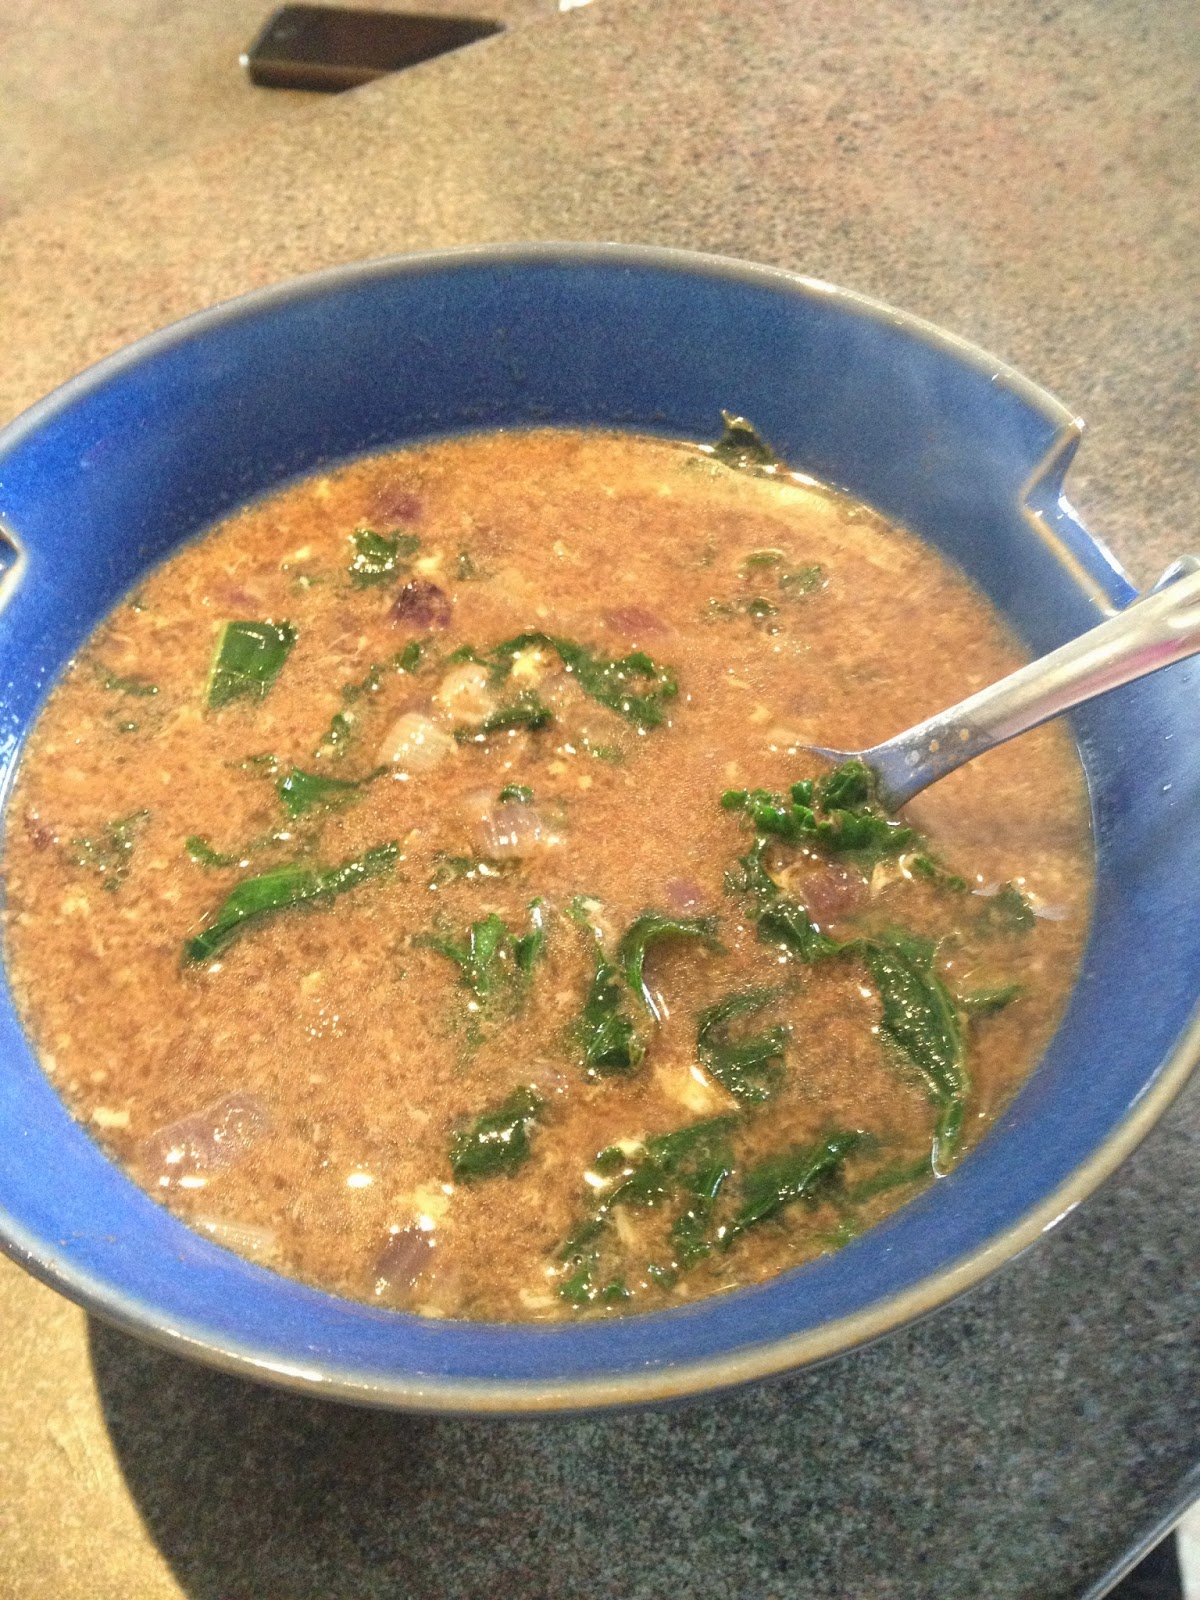
Egg Drop Soup with Kale and Miso

I was driving home the other day, and talking to my hubbie on the phone(using the  Bluetooth in my car, of course...safety first!!) about what he was going to feed me when I arrived home (He had the day off, it was his turn to cook!). He was going thru all of the bits and pieces of leftovers in the fridge, but they were all spoken for already other dinners (these lovely Stuffed Baked Sweet Potatoes from Against All Grain were one of those meals). I could hear his frustration building as we spoke…there was NOTHING to eat quickly….or so he thought, silly guy! I had him start sautéing some veggies, and when I arrived home threw the rest of the soup together in a flash. We had two beautiful bowls of hearty, nutrient dense soup that was absolutely delicious, and ready in about 20 minutes flat. (and the bone broth was frozen too!) Dilemma solved, and in such a tasty way!


Egg Drop Soup with Kale and Miso
Makes 2 generous bowls of soup.
 1 medium red onion, peeled and chopped
1 cup chopped kale, (approx 2 lg leaves) thick stem removed
1 clove garlic, minced
1 tbsp avocado oil (or coconut, or butter)
2 cups bone broth (use beef or chicken, I believe we used beef )
1 cup water
1 tsp Mame miso (or miso of choice)
2 tbsp water
½-1 tsp sriracha sauce (optional, look for one with good ingredients!)
2 eggs, lightly beaten
Smoked sea salt to taste

This is a traditional soybean
Miso... there are many other
types. The flavour will differ
slightly, but any of them
would work!
In a medium pot, sauté the onion and garlic for 2-3 minutes over medium heat. Add the chopped kale and sauté until the veggies just start to brown and soften, 3-4 minutes more approx.  Add bone broth and the first amount of water. Bring to a boil, reduce heat and let simmer. (if your bone broth is frozen, like mine almost always is, add the frozen stock to the veggies, put a lid on the pot and leave on medium heat until melted, then bring to a boil and simmer)
While it simmers, in a small bowl, mix the Miso paste with the second amount of water until well combined.  Add the sriracha if using, and stir into gently simmering soup.
Slowly drizzle the beaten eggs back and forth over the surface of the soup, taking care not to pour all in one spot. Lightly stir (you don’t want to mix the egg in totally) until the egg turns opaque, approx 1 minute.

Season with salt and serve warm. 


Sunday, 1 February 2015

Coconut Cinnamon Streusel Muffins


After a long hiatus from putting pen to paper and writing down new recipes, I am finally back on track and getting some new creations posted for you!
This muffin recipe, and the Cranberry Coconut Breakfast Bars that I posted recently were created out of a need to use up a bunch of frozen bananas that were threatening to take over my freezer. There always seems to be that one banana that no one wants to use, and is sadly left to brown in the fruit basket on the counter. When it becomes painfully obvious that no one is going to go anywhere near it, into the freezer it goes, alongside the other strays, until I have enough to do something with. (or until they start to fall out when the freezer door is opened…whichever happens to come first!)
The latter was the case, and these beauties were born. The muffin itself is not very sweet, the coconut streusel topping adds just that perfect sweetness and texture to perfectly finish off the muffin. They are not large muffins, which suits me just fine. The bigger appetites in my house take two, but I find one perfect for a mid-day snack. They freeze very well, making the large amount of muffins perfect for filling up that empty space left by the frozen bananas J

Coconut Cinnamon Streusel Muffins (makes 24 small muffins)

Muffins:
6 eggs
¾ cup plain kefir or yogurt (full fat!)
4 bananas (very ripe…mine were frozen and thawed)
2 Tbsp Apple cider vinegar
¼ cup melted coconut oil
2/3 cup coconut flour
¼ cup arrowroot flour/starch
¼ cup coconut sugar
¼ cup chick pea flour
¼ cup ground chia seeds (grind in blender or buy already ground)
2 tsp baking soda
1 tsp salt

Streusel Topping:
1 Tbsp Cinnamon
3 Tbsp melted coconut oil
3 Tbsp coconut sugar
2/3 cup shredded coconut

Preheat oven to 375F. Line 24 muffin tins with parchment liners or grease very well.  Set aside. 

Measure all of the muffin ingredients into an 8 cup mixing bowl. Using an immersion blender, blend together well, scraping down the sides with a spatula as necessary to make sure all ingredients are mixed.  Let stand while you mix the streusel.

To make the streusel: Mix all ingredients together well in a small mixing bowl. Set aside.
Scoop the prepared muffin batter evenly into the lined pans. Top evenly with the streusel topping. (there is a generous amount of topping, you won't need to scrimp!)

Bake for 18-20 minutes in preheated oven or until a toothpick inserted in the center of one comes out clean.

Remove from pans and cool on wire racks. Store leftovers in a covered container in the fridge for up to 3 days, or wrap and freeze for up to 6 months. 

Sunday, 25 January 2015

Grain Free Pizza Crust

We topped this one with my tomato confit, fresh
grape tomatoes, black olives, fresh basil, and
a sprinkle of Black River old cheddar/brick
shredded cheese. 
A while back, on my Facebook food page, I posted a link to these delicious little cheese balls. Pretty easy to make and darn tasty to boot! They were the closest thing to real bread that I have had in years! The recipe got my brain to working though, as I thought of all the things that this type of dough would be great for.  Naan bread was the first creation, and although I still want to tweak the recipe a bit before I share, it is exactly what my curry dishes have been missing since going grain free. Pizza was the next experiment, and it was a beautiful success. It goes on the parchment paper as a sticky gooey mess of muck, and comes out as a wonderfully crisp thin yet chewy pizza crust. Add some toppings, bake again on a hot pizza stone, and you have an amazing grain free pizza, no yeast, no grain and no belly ache to be found!
I played around with the technique from the cheese ball recipe, as I found mixing the hot milk into the dry ingredients in the mixer was much easier, and I changed up the ingredient list a wee bit to get a better texture for what I was aiming for.  The results are amazing, and I am so excited to share!
 If you don't have a pizza stone, I am sure this would work fine on a baking sheet, just be sure to use the parchment
 paper in the first step, as i think it may stick to the pan without it. The stand mixer is necessary, as getting everything mixed would be impossible without it!

Grain Free Pizza Crust

1 cup milk
1/3 cup avocado oil
1 ½ cup tapioca starch
1/3 cup arrowroot starch
¼ cup coconut flour
1 tsp salt
2 eggs


Put a pizza stone on the middle rack of your oven. Preheat oven to 450F


Heat milk and avocado oil in a small pan over med low heat until you just see bubbles forming on the sides, not boiling, but nice and warm.

Meanwhile, measure the dry ingredients into a stand mixer and mix on low until blended.


With the mixer still running, slowly pour the warm milk/oil mixture into the dry ingredients and mix until blended. It should come together in a nice, somewhat sticky dough.


Mix on medium for 3-4 minutes until the “dough” cools down enough that you can touch it with your hand (with the mixer turned off of course!!) . If it is too hot the eggs will cook instead of blending in. 


When the dough is cool enough, add the eggs one at a time and continue to mix on low until everything is well combined. It will take a bit to come together into a nice smooth but sticky dough.  When the dough starts coming together well, turn to medium and mix for a full 2 minutes until thoroughly combined.


Using a rubber spatula, turn dough onto a large piece of parchment paper. 

Wet your hands (you may need to wet them a few times during this process, it is sticky!) and spread dough out on parchment paper with hands into whatever pizza shape you desire, making it nice and even and about 1 cm thick.


Using a pizza peel or the bottom of a cookie sheet, slide the dough (still on the parchment paper) onto the preheated pizza stone and bake for 10 minutes.
Remove from oven, using a pizza peel or the back of a large cookie sheet.

 top with desired ingredients, and bake again until toppings are hot thru 
and cheese is bubbly (if using), usually 6-8 minutes ish. 


Slice and serve hot!

This one was topped with a smokey bbq sauce, bacon, pepperoni,
mushrooms, jalapenos, and an old cheddar/brick cheese blend
 from  Black River Cheese, that was perfect!


Sunday, 18 January 2015

Cranberry Coconut Breakfast Bars


I apologize, dear readers, for the lack of recipes lately. Between the holidays, a promotion at work, and life in general, it seems I have been a wee bit side tracked when it comes to getting recipes posted. Lots has been going on in the kitchen, but when all was said and done, something had to give, and the blog has suffered. I intend to correct that here and now though by giving you a wonderful grain free bar that is perfect for a quick breakfast or snack. These bars are heading to work with me tomorrow for an early morning staff training (along with another soon to be posted recipe...Grain Free Coconut Cinnamon Streusel Muffins). Not too sweet, portable, and full of yummy grain free nutrients to fuel your morning...or your break, or whenever you need a satisfying bite to eat. We usually cut these into at least 16 bars, and they store well in the freezer for those crazy busy mornings. 

Cranberry Coconut  Breakfast Bars

3 eggs
3 very ripe bananas (mine were previously frozen and thawed)
1 cup full fat milk kefir or yogurt  
1/3 cup gently melted coconut oil, cooled slightly
2 tbsp apple cider vinegar
2 tsp vanilla
1/3 cup coconut sugar
2/3 cup coconut flour
¼ cup Arrowroot flour/starch
¼ cup chickpea flour
¼ cup ground Chia seeds
1 tsp baking soda
1 tsp of salt
-----------
1 cup fruit-juice-sweetened dried cranberries
1 cup unsweetened shredded coconut (Organic Traditions is my fav!)

Preheat oven to 375F. Grease a 9X13 glass baking dish or line with parchment paper and set aside. 
Beat the eggs, kefir, coconut oil, vinegar, vanilla and bananas together in a large mixing bowl until frothy with an immersion blender.  Add the coconut sugar, flours, baking soda, and salt. Mix well again ensuring there are no lumps left.

Mix in the dried cranberries and coconut  with a wooden spoon or spatula to evenly distribute.
Scrape the batter into prepared pan, and bake for 35-40 minutes, or until a toothpick inserted in the center comes out clean.
Let cool in the pan completely before cutting into desired shape. 
Store in an airtight container for 3-4 days in the refrigerator, or wrap individually and freeze for up to 6 months.